

Pre-Installation: Planning and Preparation
Installing a tankless water heater is a rewarding home upgrade, offering endless hot water and significant energy savings. Unlike traditional tanks that constantly pay to keep water hot, tankless models heat water on demand. This efficiency can lower utility bills and free up valuable space in your home. However, the installation is a complex project that demands precision.
With years of experience helping homeowners with plumbing upgrades, our team at Gray Phoenix Plumbing is here to share our expertise on how to install a tankless water heater safely and efficiently.
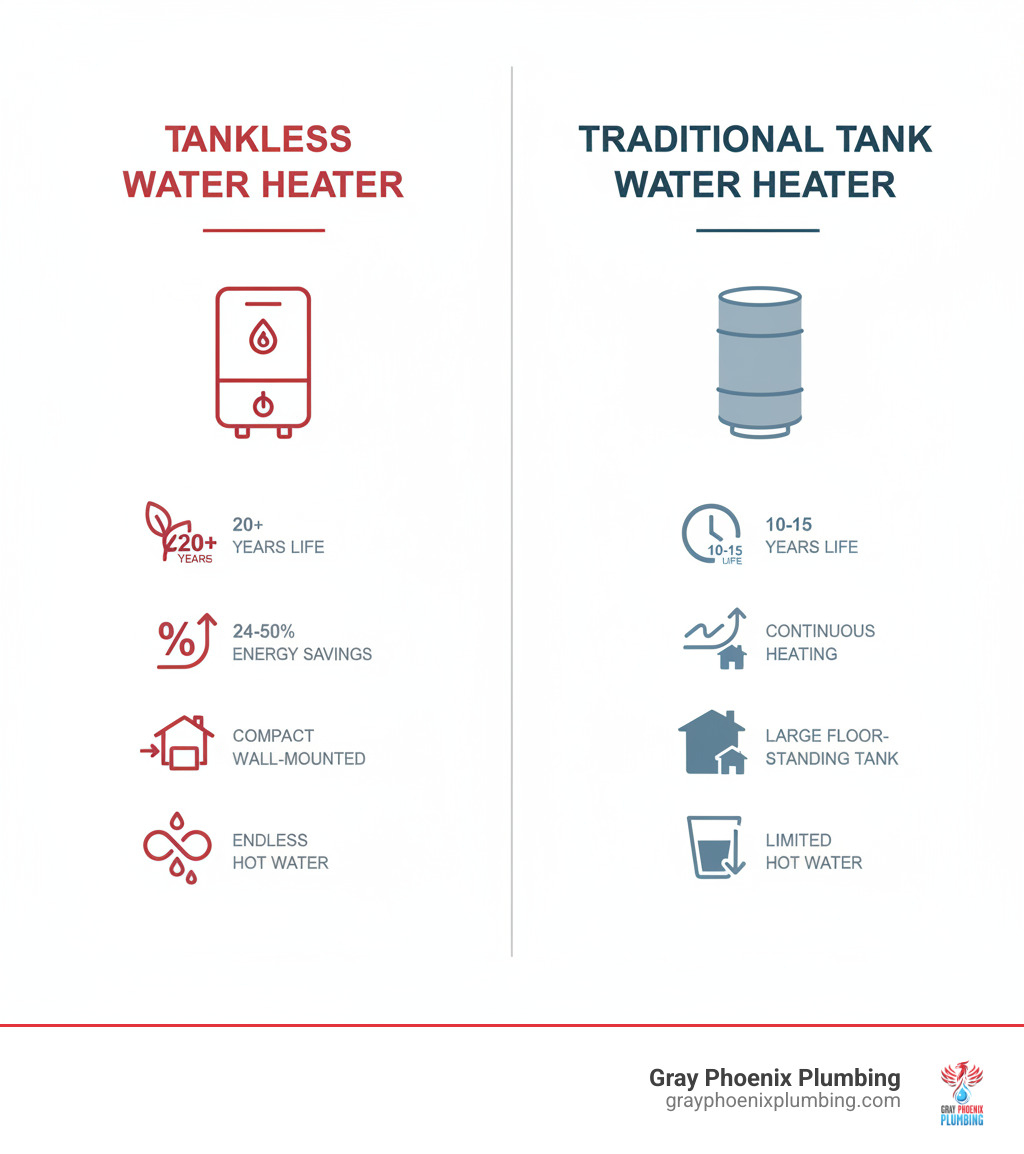
This section covers the critical decisions and checks needed before you begin, ensuring you have the right unit and a solid plan for a safe setup.
Choosing the Right Tankless Water Heater
Selecting the right tankless water heater is paramount. The choice depends on your household’s needs and existing infrastructure.
First, consider the types of heaters:
- Gas vs. Electric: Gas units are powerful and suited for larger households, but require complex installation with gas lines and venting. Electric units are highly efficient (98-99%) and require less maintenance, but may struggle with high simultaneous demand and need significant electrical upgrades.
- Condensing vs. Non-condensing (Gas): Condensing heaters are the most efficient, using a second heat exchanger to capture heat from exhaust gases. This allows for less expensive PVC venting. Non-condensing units are less expensive upfront but are less efficient and require metal venting.
Next, sizing your unit is crucial to ensure adequate hot water.
- Gallons Per Minute (GPM): Determine the GPM you need by adding up the flow rates of fixtures you might use at the same time (e.g., a shower at 2.5 GPM and a washing machine at 2.0 GPM requires a 4.5 GPM unit).
- Temperature Rise: This is the difference between your incoming cold water temperature and your desired output (typically 120°F). In colder climates like Colorado, a greater temperature rise is needed, which affects the unit’s effective GPM.
- Household Demand: A small home (1-2 people) might need a 140,000 BTU unit, while a larger home (3-5 people) could require up to 380,000 BTUs or multiple units.
Finally, look at energy efficiency ratings. The Uniform Energy Factor (UEF) is the key metric; a higher UEF means a more efficient heater. For more details, the U.S. Department of Energy is an excellent resource.
| Feature | Gas Tankless Water Heater | Electric Tankless Water Heater |
|---|---|---|
| Efficiency | 80-85% (Non-condensing), up to 96% (Condensing) | 98-99% |
| Hot Water Output | Generally higher GPM, better for multiple simultaneous uses | Lower GPM, may struggle with high demand |
| Installation Cost | Higher (gas line, venting, electrical) | Lower (plumbing, electrical) |
| Operating Cost | Often lower, depending on local utility rates | Can be higher, depending on local electricity rates |
| Infrastructure | Requires gas line, vent, electrical outlet | Requires robust electrical panel, dedicated circuits |
| Maintenance | More involved (vent inspection, descaling) | Less involved (descaling) |
| Lifespan | 20+ years (with proper maintenance) | 20+ years (with proper maintenance) |
Understanding Costs, Lifespan, and Required Tools
The upfront purchase cost for a tankless unit ranges from around $90 for small electric models to over $2,000 for high-output gas units. The total cost to convert from a tank to a tankless model, including professional installation, typically ranges from $3,500 to $8,000 due to necessary infrastructure upgrades.
These costs are often offset by long-term energy savings of up to $100 or more per year, as detailed by the U.S. Department of Energy. A well-maintained tankless unit can also last 20+ years, far longer than a traditional 10-15 year tank.
If you attempt a DIY installation, you’ll need a comprehensive set of tools and materials:
- Safety Gear: Gloves, safety goggles.
- Plumbing Tools: Pipe wrenches, cutters, deburring tool, soldering torch.
- Gas & Electrical Tools: Gas-rated thread sealant, voltage tester, wire strippers.
- Mounting & Venting Tools: Drill, level, stud finder, manufacturer-approved vent kit.
- Piping & Fittings: Copper or PEX pipe, isolation valves, pressure relief valve.
How to Install a Tankless Water Heater: DIY vs. Professional
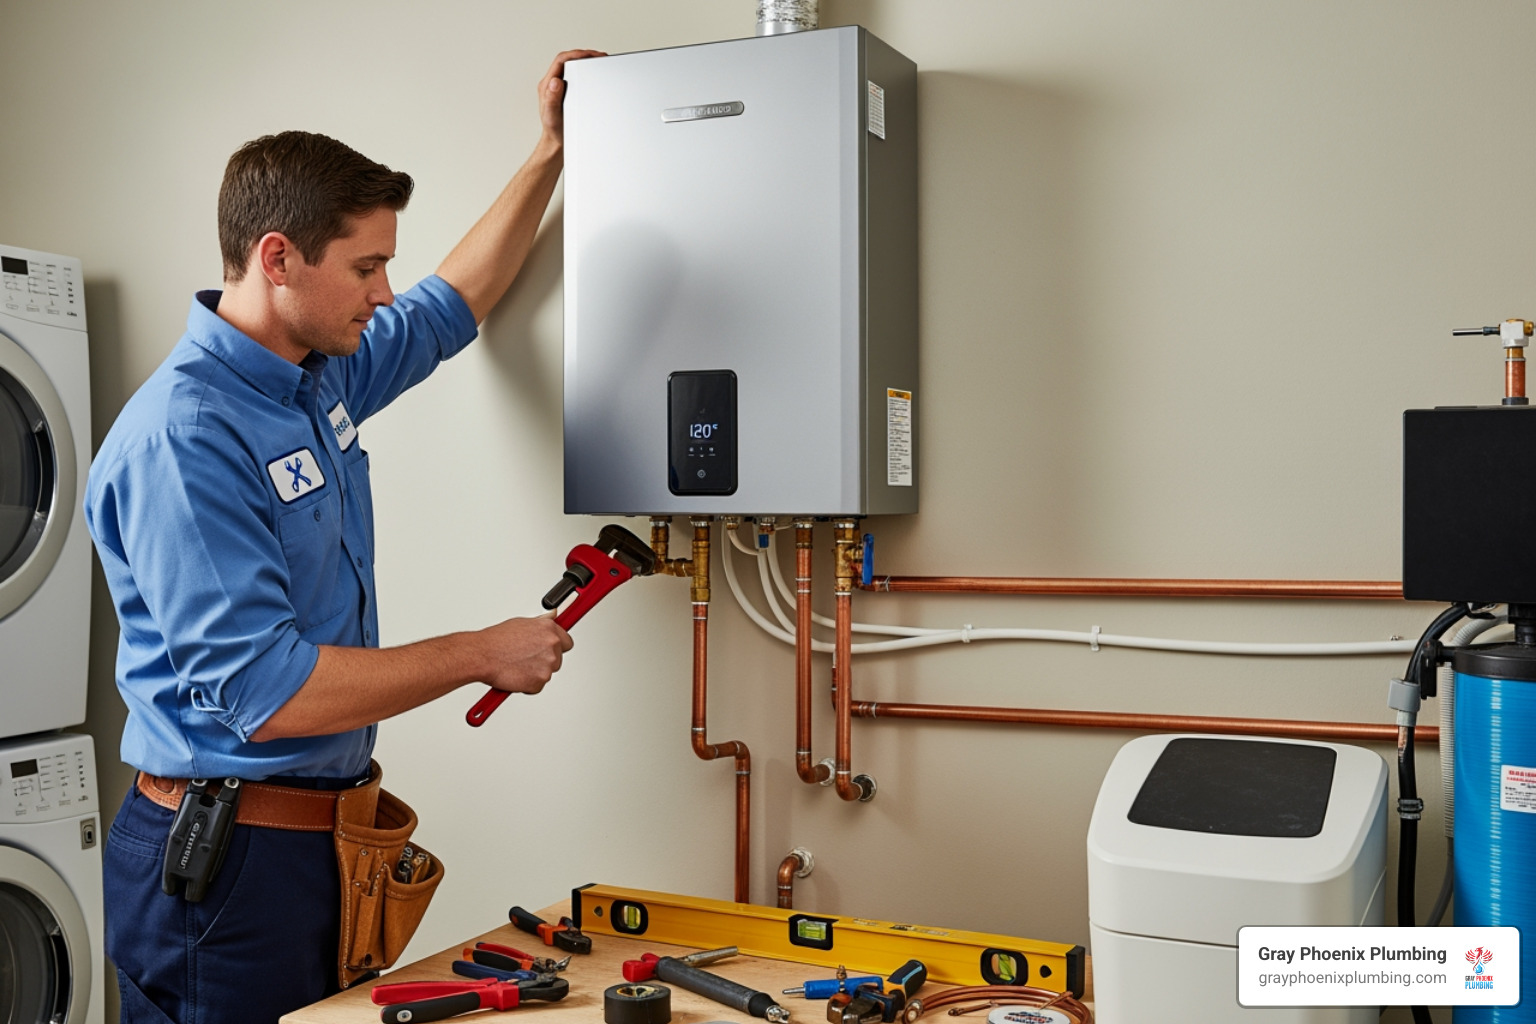
Can you install a tankless water heater yourself? This is an “Advanced” difficulty project requiring significant plumbing, electrical, and gas-fitting experience.
- DIY Risks: The primary risk is safety. Improper installation can lead to gas leaks, carbon monoxide (CO) poisoning, water damage, or electrical fires. Furthermore, most manufacturers require professional installation to validate their warranty, so a DIY job could void it.
- Benefits of Professional Installation: Hiring a licensed professional from Gray Phoenix Plumbing ensures safety and compliance with all local codes in areas like Elizabeth, Denver, and Castle Rock. Our expertise saves you time, validates your warranty, and provides peace of mind. For most homeowners, professional installation is the smarter, safer choice. Explore our water heater replacement services for expert help.
How to Install a Tankless Water Heater: A Step-by-Step Guide
Installing a tankless water heater is an advanced project. Always follow the manufacturer’s specific instructions and adhere to all local building codes. If you feel unsure at any point, stop and call a professional. Your safety is the top priority.
Step 1: Safety First & Removing the Old Unit
Before starting, you must completely disconnect your old water heater from all utilities to prevent accidents.
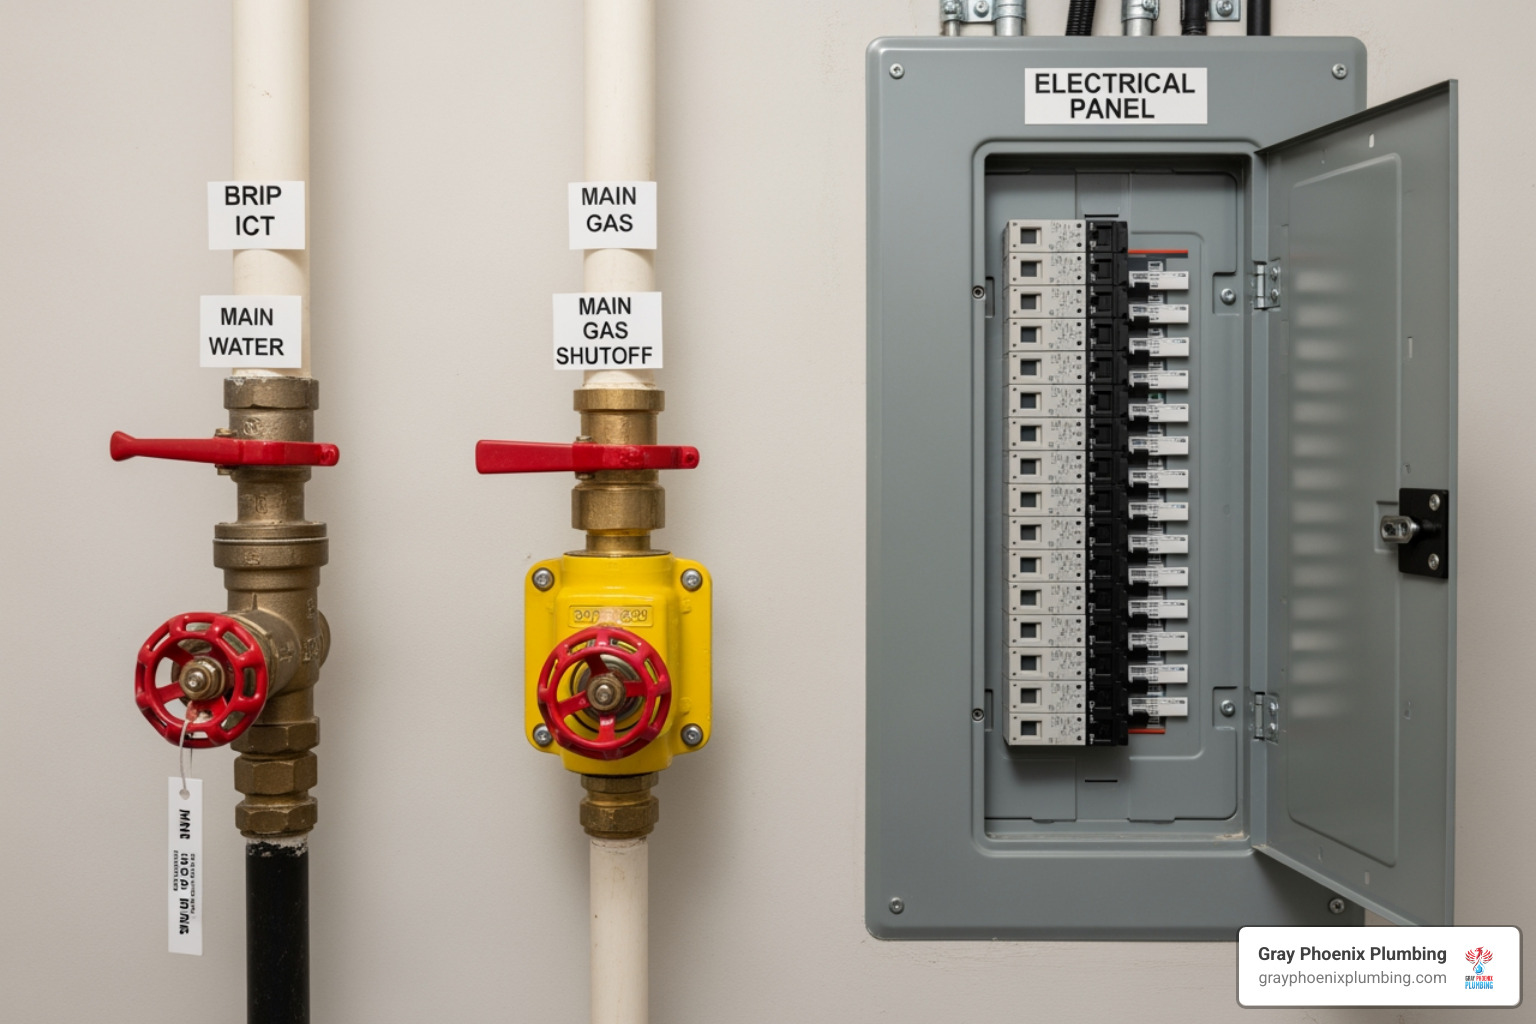
- Turn off Main Water Supply: Locate and close your home’s main water shut-off valve. Also, close the water valves leading directly to the old heater.
- Shut off Gas Line (for gas models): Turn the gas shut-off valve on the pipe leading to the water heater to the “off” position.
- Turn off Circuit Breaker: Go to your electrical panel and flip off the circuit breaker that powers your water heater. This is critical for both electric and gas models.
With utilities off, you can proceed with removal:
- Drain the Old Water Heater Tank: Connect a heat-rated hose to the drain valve at the bottom of the tank and run it to a floor drain or outside. Open the drain valve and a hot water faucet somewhere in the house to help it drain faster.
- Disconnect All Lines: Once the tank is empty, disconnect the hot and cold water lines, the gas line, and any electrical wiring. Have a bucket ready for residual water.
- Safely Remove and Dispose of the Old Unit: Water heaters are heavy. Use a hand truck or get help to move the old unit. Many local recycling centers will accept old water heaters. This is a good time to reflect on any water heater warning signs your old unit was showing.
Step 2: Mounting the New Unit & Infrastructure Upgrades
With the old tank gone, you can prepare the space for your new, compact tankless unit.
- Select Installation Location: Tankless units mount on the wall, saving floor space. Choose a location with good airflow and a clear path for venting. Ensure the spot is near your main hot water usage points to reduce wait times. In cold climates like Colorado, outdoor units must be rated for freezing temperatures.
- Wall Strength and Support: The wall must be strong enough to support the unit’s weight. You may need to add plywood reinforcement anchored into wall studs.
- Clearances from Combustible Materials: Follow the manufacturer’s specified clearances between the unit and any flammable materials like wood or drywall. This is a critical safety step.
- Mount the Unit Securely: Use the provided mounting bracket and hardware. Attach it firmly to the wall, using a level to ensure it is straight.
Infrastructure Upgrades are often necessary and typically require a professional:
- Upgrading Gas Lines: Tankless gas heaters require significantly more gas (e.g., 130,000 BTUs vs. 30,000 for a tank). This often means upgrading your existing 1/2-inch gas line to a 3/4-inch or 1-inch line, a job that requires a licensed professional to meet gas codes.
- Upgrading Electrical: Electric tankless heaters draw high amperage (50-130+ amps). This usually requires a new dedicated 30-amp circuit (or more) with heavy-duty 6-gauge copper wiring. Your home’s entire electrical panel may need an upgrade. This is a job for a qualified electrician.
Step 3: Connecting Water, Gas, and Electrical
With the unit mounted, it’s time for the connections. Precision is key to a leak-free, safe setup.
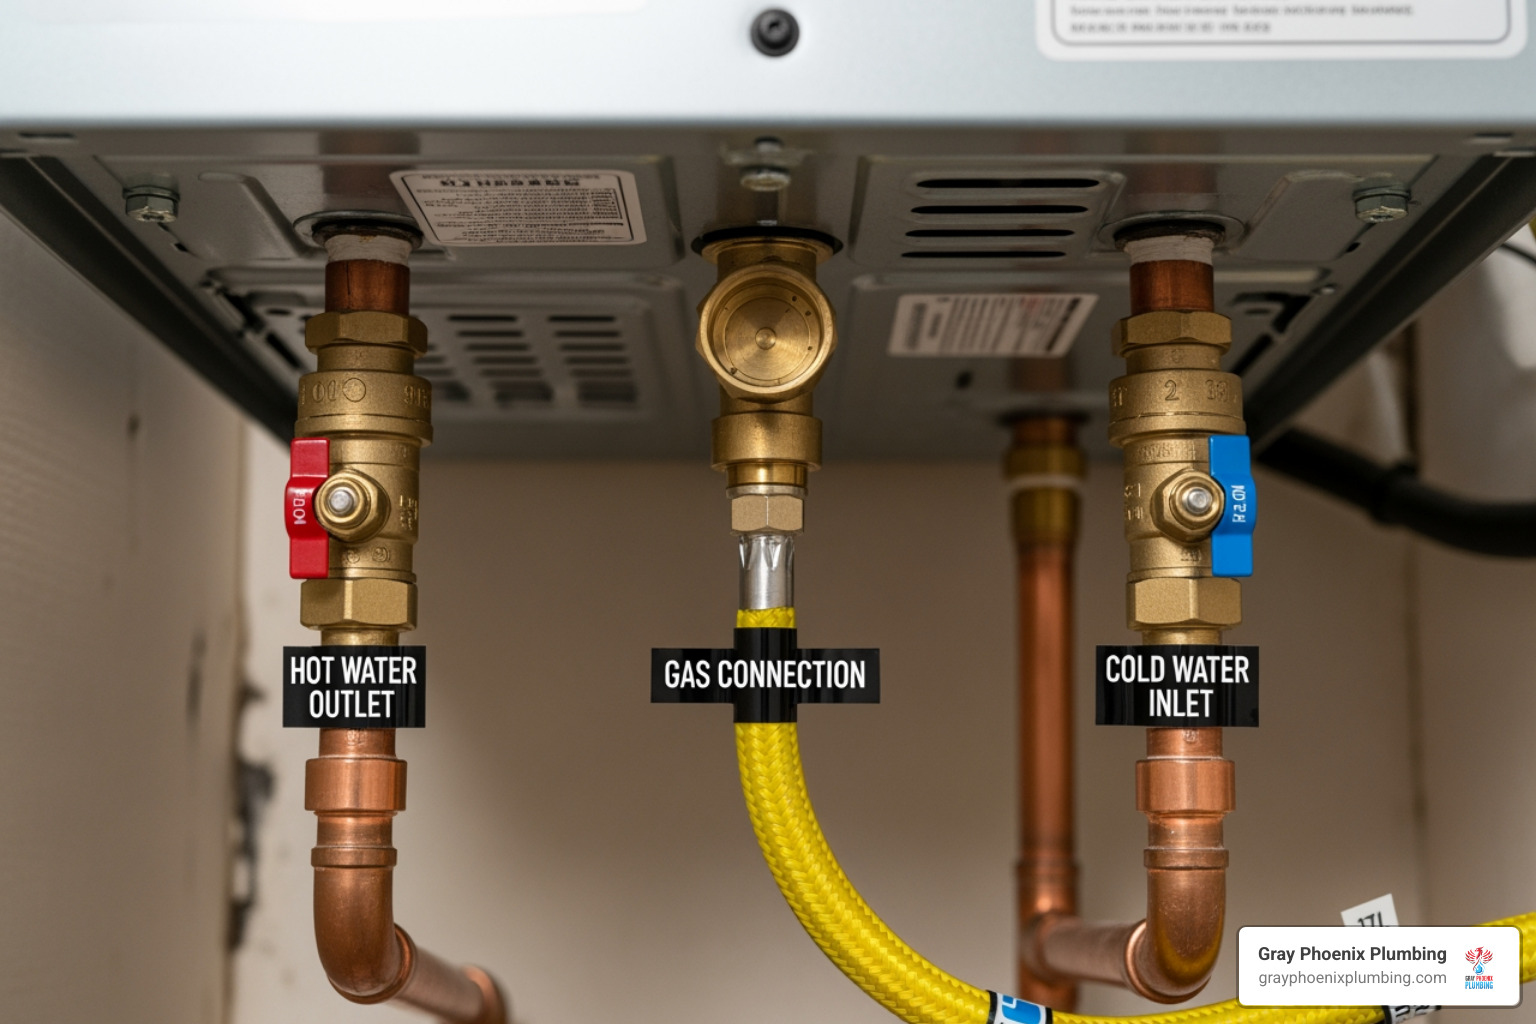
- Connect Water Lines: Hook up the cold water supply to the inlet and the hot water line to the outlet.
- Install Isolation Valves: Install service valves on both the hot and cold water lines. These allow you to flush the unit without shutting off water to the whole house.
- Install Pressure Relief Valve: A Temperature and Pressure Relief (T&P) valve is a critical safety device that must be installed on the hot water outlet. It prevents dangerous pressure buildup.
- Connect Gas Line (for gas models): Connect the properly sized gas line to the unit’s gas inlet. The connection must include a manual shut-off valve and a sediment trap to catch debris. Use gas-rated thread sealant on all connections.
- Connect Electrical: For electric units, connect the dedicated circuit according to manufacturer instructions and local codes. For gas units, plug in the power cord.
- Ensure All Connections Are Secure: Double-check every connection. Use Teflon tape on water pipe threads to ensure a leak-free seal.
Step 4: Venting Requirements for Gas Models
Proper venting for gas models is not just about efficiency—it’s a life-saving safety measure to prevent carbon monoxide poisoning.
- Venting Systems: Most modern units use direct-vent systems, which pull combustion air from outside and exhaust gases back outside, creating a safe, sealed system.
- Venting Materials: The material depends on the unit. Condensing units use corrosion-resistant PVC, CPVC, or ABS due to their cooler exhaust. Non-condensing units have hotter exhaust and require stainless steel vents. Always use manufacturer-approved materials.
- Installation Details: Install both intake and exhaust pipes, ensuring all joints are sealed with heat-resistant silicone. For condensing units, the exhaust vent must have a slight downward slope to allow condensation to drain properly.
- Vent Termination Clearances: The exterior vent termination point is critical. There are strict codes for its distance from windows, doors, soffits, and the ground (e.g., at least 12 inches above ground, 3 feet from an openable window). Never terminate a vent near any air intake for the home to prevent exhaust gases from re-entering.
Post-Installation: Startup and Maintenance
Once the unit is fully connected, these final steps will get your system running safely and ensure it operates efficiently for years to come.
How to Install a Tankless Water Heater: Final Checks and Startup
Now it’s time to bring your new tankless water heater to life.
- Purge Air from Water Lines: Slowly turn the main water supply back on. Open the highest hot water faucet in your house and let it run until you have a steady, air-free flow. Repeat for other faucets.
- Check for Water Leaks: With water flowing, carefully inspect every water connection for drips or moisture. Gently tighten any leaking connections.
- Check for Gas Leaks (for gas models): Apply a soapy water solution to all gas pipe connections. Slowly turn on the gas supply. If you see bubbles, you have a leak. Immediately turn the gas off, tighten the connection, and retest. Never use a flame to check for leaks.
- Restore Power: Plug in the unit or flip the circuit breaker back on at the electrical panel.
- Follow Startup Sequence: Your manual will outline a specific startup procedure. Follow these instructions precisely.
- Set Water Temperature: Use the control panel to set your desired temperature. We recommend 120°F (49°C) or lower to prevent scalding, especially in homes with children or the elderly.
Congratulations! You’ve completed the installation. Now enjoy that endless hot water.
Long-Term Maintenance for Peak Efficiency
Regular maintenance ensures your tankless water heater runs efficiently for its 20+ year lifespan.
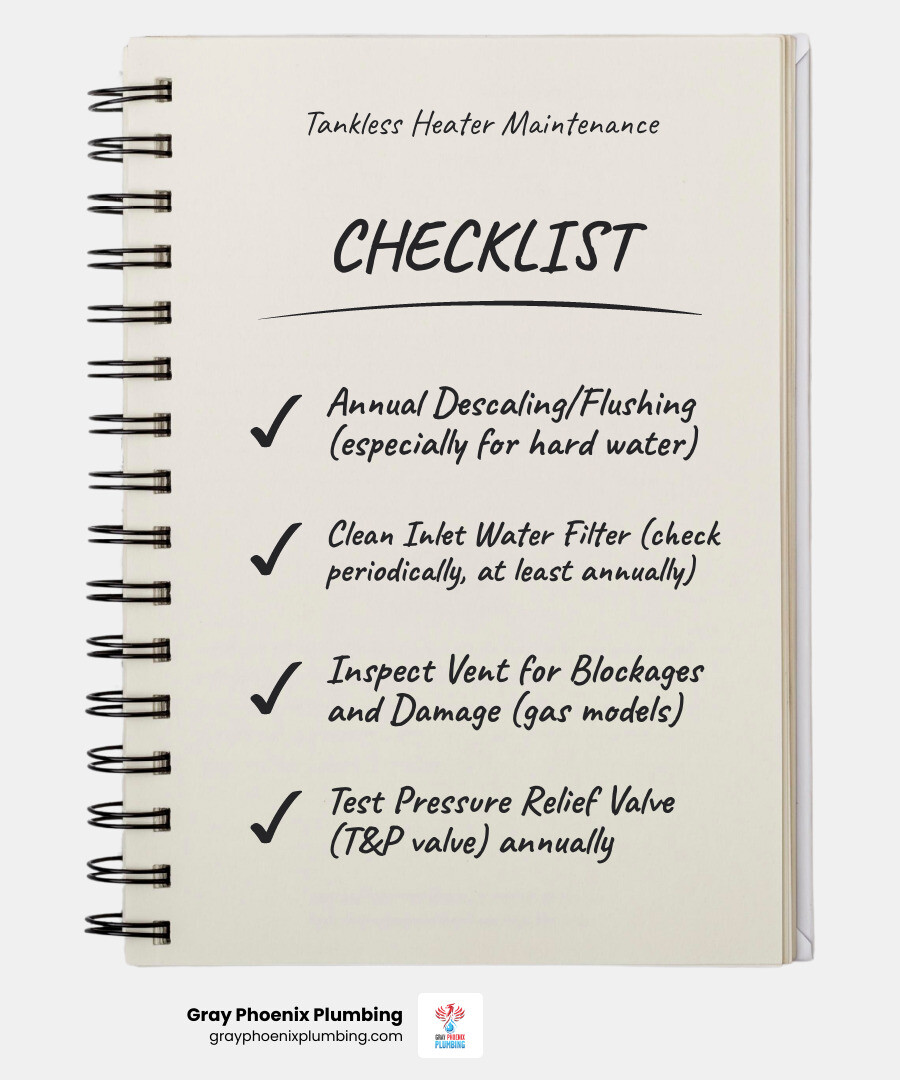
- Annual Descaling/Flushing: This is the most critical task, especially in hard water areas like Colorado. Flushing the system with a vinegar solution removes mineral buildup (scale) from the heat exchanger.
- Hard Water Considerations: If your home has hard water, installing a water softener is highly recommended to prevent scale buildup and maintain efficiency.
- Clean the Inlet Water Filter: Periodically inspect and clean the inlet water filter screen to ensure proper water flow.
- Inspect the Vent (for gas models): Annually check the intake and exhaust vents for blockages, corrosion, or damage.
- Test the Pressure Relief Valve: Once a year, manually test the T&P valve to ensure it functions correctly.
- Schedule Professional Inspections: We recommend an annual professional inspection. A certified plumber from Gray Phoenix Plumbing can perform thorough checks and cleanings to ensure your unit’s longevity. For comprehensive care, check out our water heaters and filtration systems services.
Frequently Asked Questions about Tankless Water Heaters
You’ve got questions about tankless water heaters, and we’ve got answers! Here are some of the most common inquiries we hear from homeowners.
What are the main benefits of a tankless water heater?
The primary benefits are significant and impact both your comfort and your wallet:
- Endless Hot Water: Never run out of hot water again, even with multiple simultaneous uses.
- Energy Savings: By heating water only on demand, you can reduce energy usage by 24-34% compared to a tank heater.
- Longer Lifespan: These units can last 20 years or more with proper maintenance, nearly double that of many traditional tanks.
- Space-Saving Design: The compact, wall-mounted design frees up valuable floor space.
What are the risks of an improper installation?
Improper installation is extremely dangerous and is why we stress the importance of professional help. The risks include:
- Gas Leaks: Faulty connections can lead to fire or explosion.
- Carbon Monoxide Poisoning: Incorrect venting can allow this deadly, odorless gas to enter your home.
- Water Damage: Poor plumbing connections can cause major leaks.
- Electrical Hazards: Incorrect wiring can create a risk of shock or fire.
- Voided Warranty: Most manufacturers require professional installation to validate their warranty, leaving you responsible for repair costs.
How do you size a tankless water heater for your home?
Sizing is crucial for performance and is based on two factors:
- Maximum Flow Rate (GPM): Calculate the total gallons per minute (GPM) of all the hot water fixtures you might use at once.
- Required Temperature Rise: Determine the difference between the incoming cold water temperature and your desired hot water output (e.g., 120°F). Colder climates require a higher temperature rise, which affects the unit’s GPM capacity.
Our team at Gray Phoenix Plumbing can help you accurately size a unit for your Elizabeth, CO home to ensure a perfect fit.
Conclusion
You’ve seen what it takes to install a tankless water heater, from planning to startup. The benefits are clear: endless hot water, lower energy bills, and more space in your home. These are tangible improvements to your daily life.
However, this is not a simple DIY project. The process involves complex plumbing, electrical, and gas work where mistakes can lead to severe safety hazards like gas leaks, carbon monoxide poisoning, or fires. An improper installation can also cause major water damage and will almost certainly void your manufacturer’s warranty, putting your significant investment at risk.
For these reasons, we strongly recommend professional installation. A licensed plumber has the training, tools, and knowledge of local codes to do the job safely and correctly. This protects your home, your family, and your warranty, giving you complete peace of mind.
If you’re in the Elizabeth, CO area, you don’t have to tackle this alone. The certified team at Gray Phoenix Plumbing has helped countless homeowners make the switch to tankless. We handle everything from sizing the right unit to the final safety checks, ensuring your installation is efficient and built to last. Contact us today for your water heater replacement needs and start enjoying the benefits of endless hot water.


