

Why Installing a Halo 5 System Transforms Your Home’s Water Quality
A Halo 5 Water Filtration Installation is a whole-home solution that connects to your main water line, filtering and conditioning every drop of water in your house. The process takes a few hours and involves connecting the system with a bypass valve, plumbing a drain line, and programming the control head.
Quick Installation Overview:
- Choose Location: Find a protected, dry, non-freezing area.
- Shut Off Water: Turn off the main valve and drain the lines.
- Cut & Connect: Install the bypass assembly on the main water line.
- Plumb Drain: Run the 3/4″ drain line per local codes.
- Fill & Flush: Charge the tank, check for leaks, and flush for 20 minutes.
- Program & Regenerate: Set the system and run initial cleaning cycles.
- Final Flush: Flush all fixtures in the home.
The Halo 5 uses a five-stage filtration and conditioning process. Unlike salt-based softeners, it requires no salt or chemicals and is virtually maintenance-free thanks to automatic weekly backwashing. It even comes with a limited lifetime tank warranty.
I’m Chris Hoffman, owner of Gray Phoenix Plumbing. I’ve helped countless homeowners in the Denver metro area achieve cleaner water with a proper Halo 5 Water Filtration Installation. While this guide covers the DIY steps, professional installation ensures optimal performance, protects your warranty, and guarantees leak-free connections.
Understanding Your Halo 5 System
The Halo 5 is more than a simple filter; it’s a sophisticated whole-home conditioning solution that treats every drop of water entering your home. It combines advanced filtration with innovative conditioning technology, setting it apart from traditional methods that just filter contaminants or swap minerals with salt.
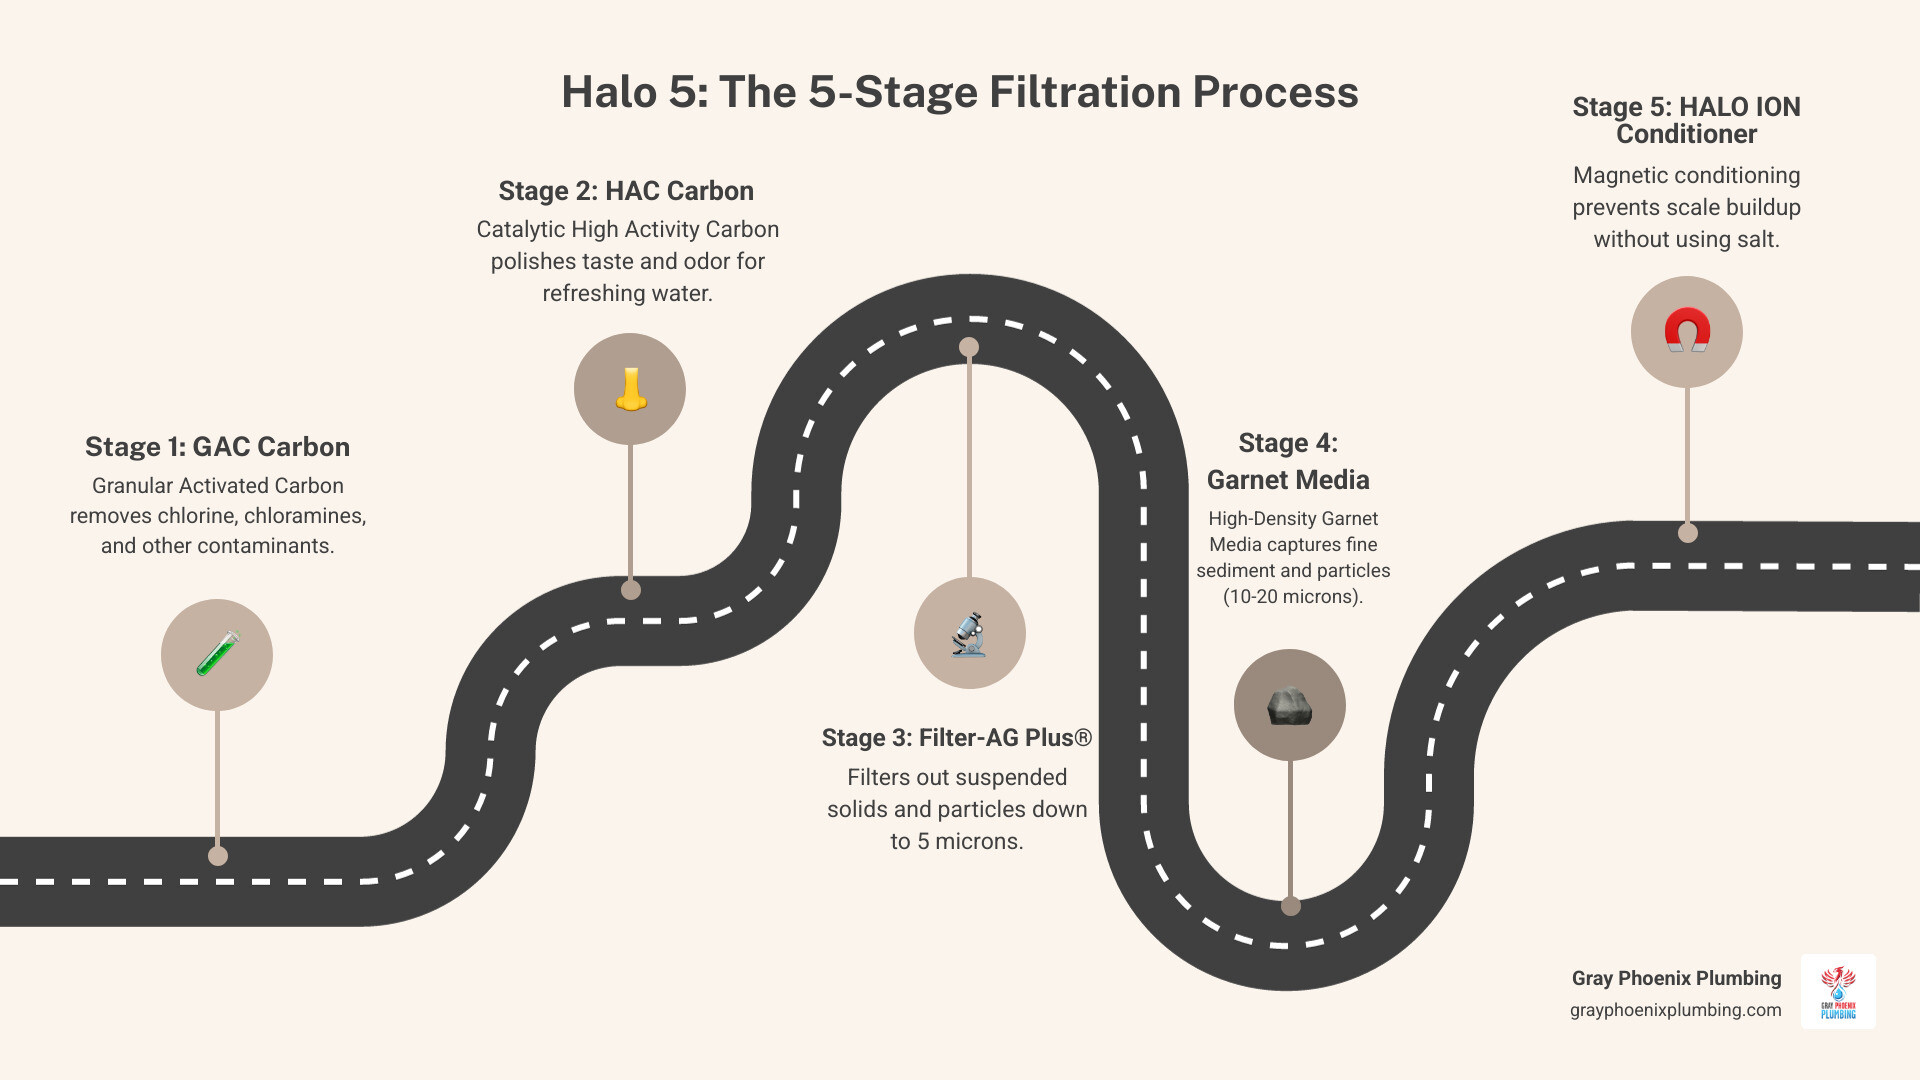
The heart of the system is its 5-stage filtration and conditioning process:
- Stage 1: Granular Activated Carbon (GAC) acts as the first line of defense, tackling chlorine, chloramines, heavy metals, pesticides, and VOCs that affect your water’s taste and smell.
- Stage 2: Catalytic High Activity Carbon (HAC) polishes the water, eliminating any remaining chlorine to refine the taste and odor for a genuinely refreshing result.
- Stage 3: Filter-AG Plus® is an all-natural media that removes suspended particles and sediment down to 5 microns, clearing up cloudiness for visibly cleaner water.
- Stage 4: High Density Garnet Media catches even finer particles (10-20 micron range), acting as a final polishing step and support bed for the other media.
- Stage 5: The HALO ION 2.0 Conditioner is the key innovation. It uses multi-reversing polarity magnetic fields to change how hard water minerals behave. Instead of removing beneficial minerals like calcium and magnesium, it transforms them into a crystallized form (Aragonite) that won’t stick to pipes or appliances.
This process provides effective scale prevention without the downsides of traditional salt-based water softeners. You keep the healthy minerals in your water but prevent the crusty buildup that damages plumbing. Over time, the conditioned water can even help dissolve existing scale.
With the Halo 5, there’s no salt to buy, no chemicals to add, and no sodium added to your water. It’s a maintenance-free, eco-friendly solution that protects your home’s plumbing infrastructure for years to come.
Ready to explore more about how whole-home filtration can transform your water quality? Check out more info about our Water Filtration Systems or visit the official HALO 5 product page for complete specifications.
Pre-Installation Checklist: Preparing for Your Halo 5
Proper preparation makes your Halo 5 Water Filtration Installation smoother and faster. Whether you’re doing it yourself or having our Gray Phoenix Plumbing team handle it, this checklist will ensure you’re ready.
Choosing a Location
The unit must be installed on your main water line, after the main shut-off valve. The ideal location is protected, dry, level, and non-freezing, such as a garage, utility room, or basement. Ensure enough room for future access. Freezing temperatures or water temps over 120°F will void the warranty.
System Sizing
The Halo 5 comes in different sizes to match your home’s water line and usage. The H5-100 (1″ inlet), H5-125 (1.25″ inlet), and H5-150 (1.5″ inlet) are sized based on water line diameter and household water demand. Choosing the right size ensures optimal flow without a pressure drop. Our team can help you select the perfect system for your Elizabeth, CO home.
Water Pressure Requirements
The system operates best between 25 and 80 psi, with 60 psi being ideal. Pressure exceeding 80 psi voids all warranties, so a pressure regulator must be installed upstream of the Halo 5 if your home’s pressure is too high.
Power Outlet Access
You’ll need a standard 2-prong, 120V grounded outlet that isn’t controlled by a wall switch. The included 15-foot power cord requires the outlet to be within reach.
Drain Line Planning
The system’s automatic weekly backwash requires a drain connection. The 3/4-inch drain outlet can be connected to a utility sink, floor drain, or standpipe. The drain line is pressurized, so it can run slightly uphill if necessary, but always follow local plumbing codes.
Well Water Considerations
If you use well water in areas like Kiowa or Elbert County, you must provide a current well water report to HALO Water Systems for review before installation. This ensures the system is appropriate for your water composition and protects your warranty.
Water Quality Testing
Getting a water quality test before your Halo 5 Water Filtration Installation is a smart step. It confirms the Halo 5 will effectively address your specific water challenges, whether it’s municipal or well water.
Essential Tools and Supplies
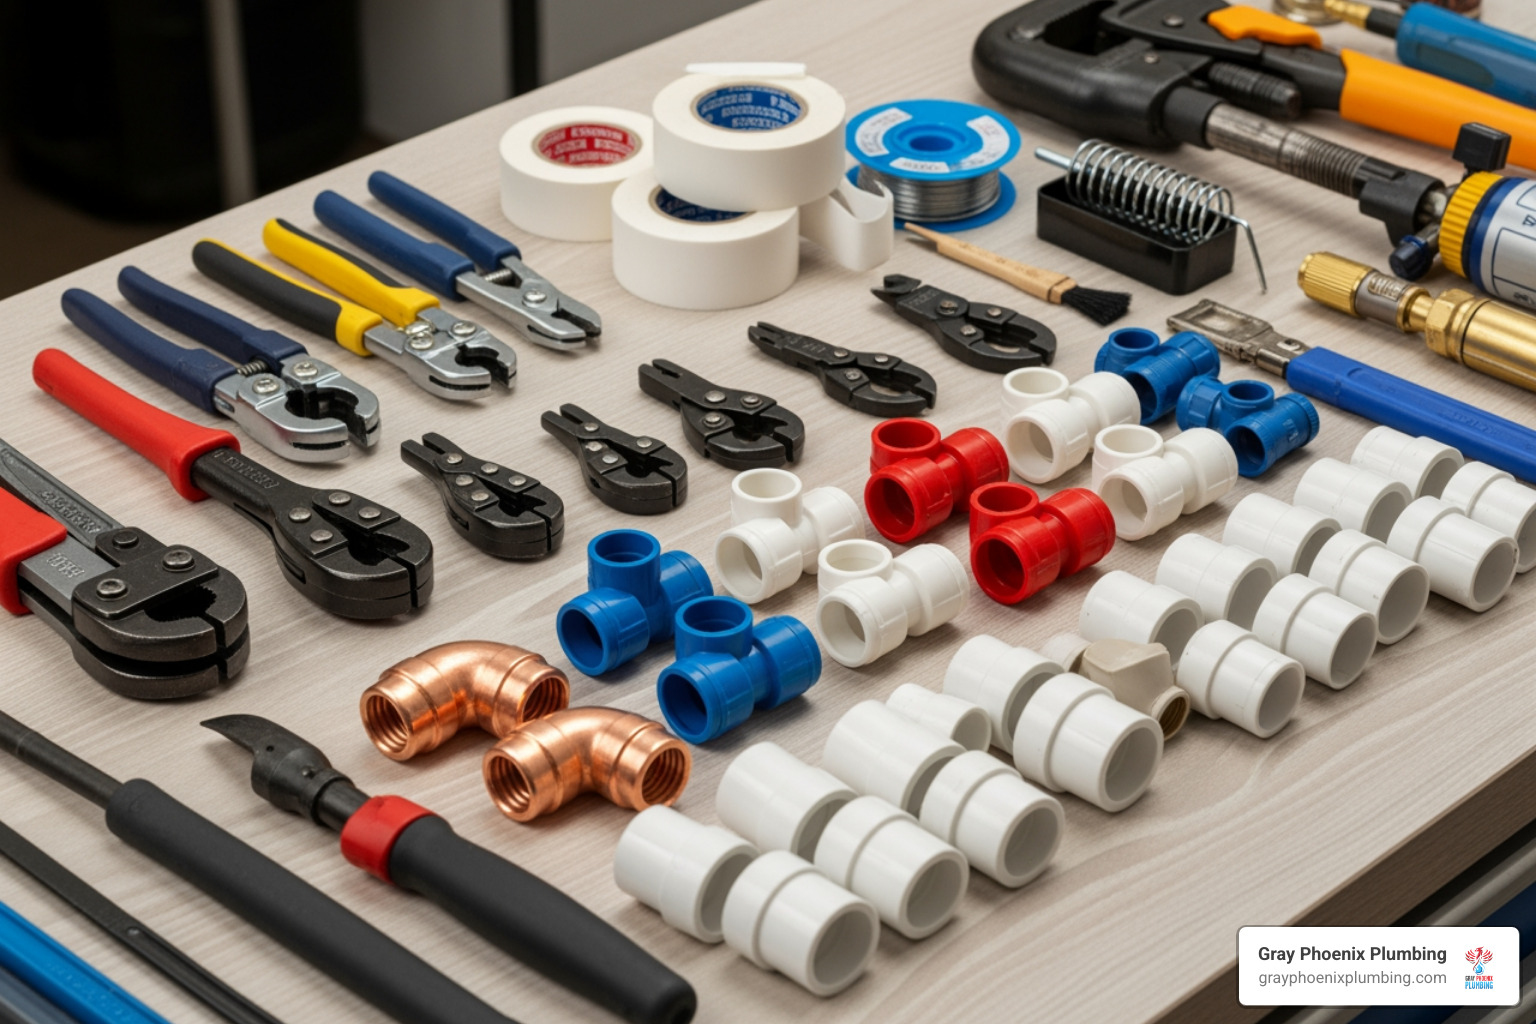
For a DIY installation, you’ll need pipe cutters, wrenches, Teflon tape, and thread sealant. For copper pipes, you’ll need soldering equipment. You’ll also need the bypass valve assembly, 3/4-inch tubing for the drain line, and buckets/towels. A measuring tape, marker, and level are also essential.
For complete specifications, we recommend you View the official HALO 5 GUIDE before starting.
The Step-by-Step Halo 5 Water Filtration Installation Guide
This section walks through the Halo 5 Water Filtration Installation process. While many homeowners with DIY skills can complete it in a few hours, professional installation is required by a licensed contractor to maintain your warranty. At Gray Phoenix Plumbing, our licensed pros ensure a code-compliant, leak-free installation. If you’re tackling this yourself, proceed with caution and attention to detail. For a visual guide, check out this video: How to install Halo 5 water filtration system step by step … – YouTube
Step 1: Shutting Off Water and Prepping the Main Line
First, locate your main water shut-off valve, typically where the water line enters your home (basement, utility closet, or near the pressure tank for well systems). Turn the valve completely off. Next, open faucets on all levels of your home (hot and cold) to drain the pipes and relieve pressure. Once the water stops flowing, select an accessible, straight section of the main line for the installation. Using pipe cutters or a hacksaw, make clean, square cuts at your marked points. Have a bucket ready for residual water.
Step 2: Plumbing the Halo 5 System
Now, you’ll connect the system to your plumbing.
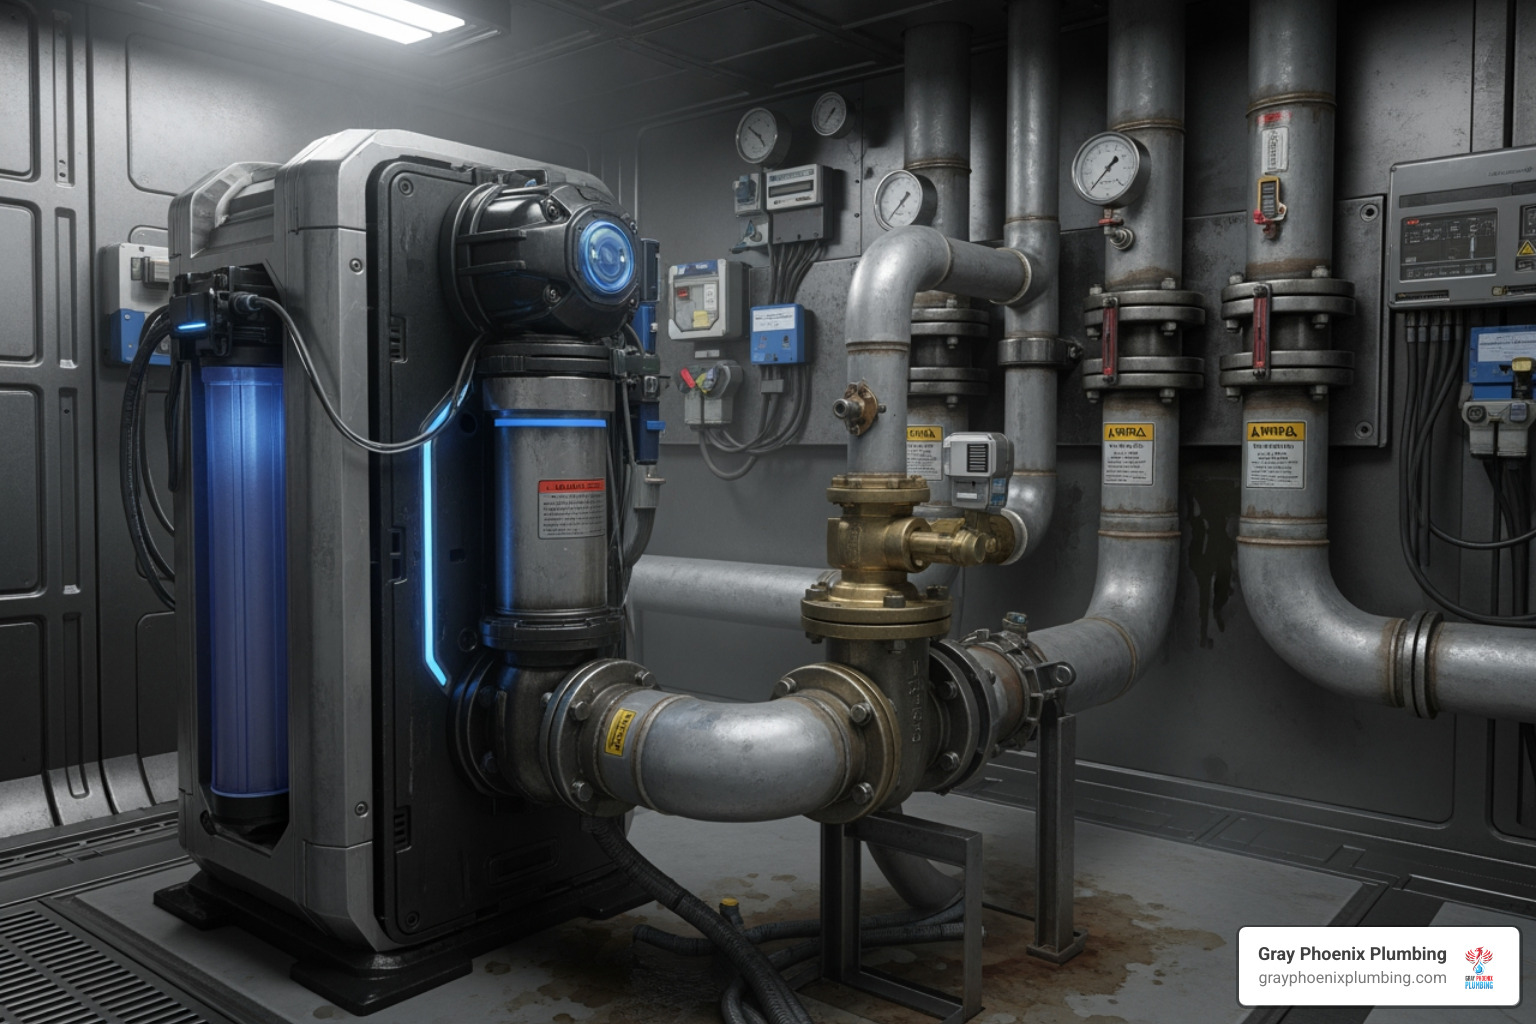
Bypass Valve: This component allows you to isolate the unit for future service without shutting off water to the house. Attach the bypass assembly to the cut ends of your main line.
Inlet and Outlet: Pay close attention to the flow direction arrows on the valve and unit. The inlet connects to the left side of the bypass valve (when viewed from behind). Use Teflon tape and thread sealant for threaded connections, tightening them firmly but not to the point of stripping. For copper pipes, solder adapters to create strong, leak-free joints.
Drain Line: Attach the drain line to the 3/4-inch fitting on the control head. Run the line to an approved drain (utility sink, floor drain). This line is pressurized during backwashing, so it can run uphill if needed. Secure all connections and follow local plumbing codes.
Step 3: Charging, Flushing, and Checking for Leaks
It’s time to bring the system to life. Start with the bypass valve in the Bypass Position. Slowly open the intake side of the valve to allow water to gently fill the tank over 5-10 minutes. This prevents air from getting trapped and shifting the media. As the tank fills, use a flashlight to inspect every connection for leaks. If you find a drip, shut off the water, relieve the pressure, and tighten the fitting. Once the tank is full and confirmed leak-free, fully open the outlet side of the bypass valve.
Finally, perform the critical initial 20-minute flush. Open a nearby hose bib or utility sink faucet and let the water run for at least 20 minutes, or until it runs completely clear. You will likely see cloudy or dark water at first—this is normal and consists of carbon fines and air. Do not skip or shorten this step, as it’s essential for settling the media bed and ensuring optimal performance.
Post-Installation: Programming and Final Steps
You’ve made it through the physical installation—great work! Now comes the exciting part where your Halo 5 Water Filtration Installation truly comes to life. These final programming steps might seem technical, but they’re actually quite straightforward. Think of it like setting up a new appliance: once you’ve done it, the system takes care of itself.
Programming Your Halo 5 Control Valve
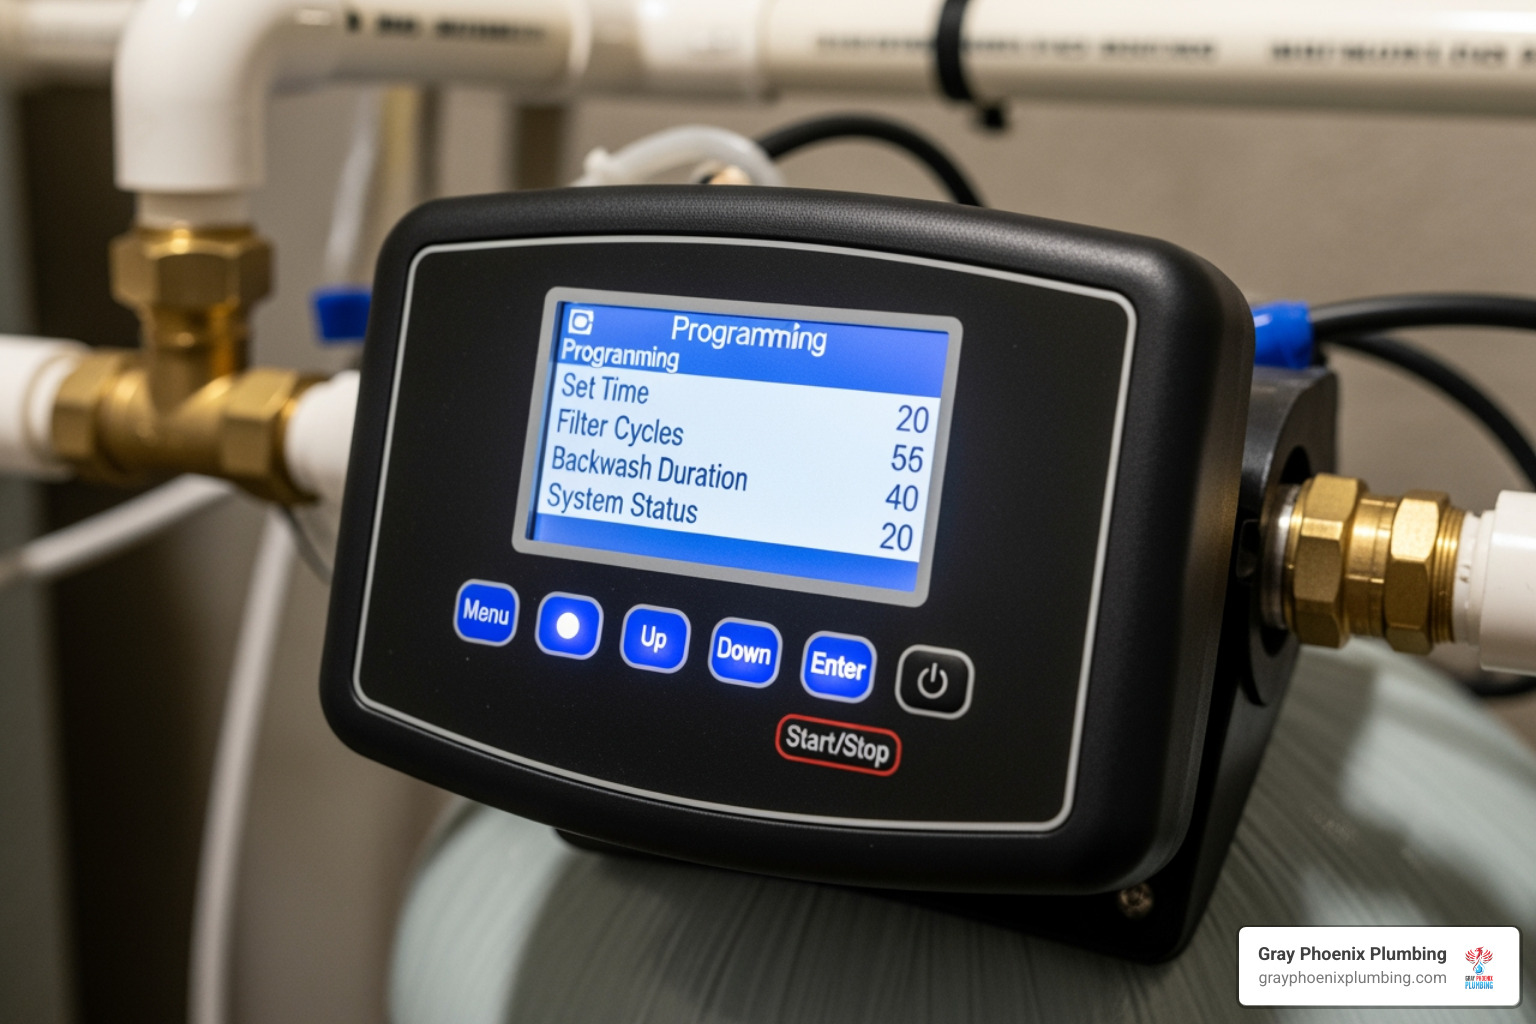
The control valve is the system’s brain. Program it correctly for efficient, long-term performance.
- Set the Time: Program the current time of day on the control head.
- Set Regeneration Time: Choose a time when water usage is minimal, typically between 2:00 AM and 4:00 AM.
- Set Regeneration Frequency: The system is pre-programmed to regenerate once a week, which is ideal for most households. This 10-minute cycle keeps the media fresh.
- Force Initial Regenerations: This is a critical step. Force two initial regeneration cycles by holding the “up” and “down” arrow buttons until the cycle starts. This settles the media and flushes out remaining carbon fines.
- Flush All Fixtures: After the two forced regenerations, run water from every sink, shower, and hose bib for at least two minutes each to clear any residue from your home’s pipes. If water is still cloudy, repeat the forced regenerations and flush again.
For detailed instructions, the VIRGO Installation & Programming Guide is an excellent resource.
Your Guide to a Maintenance-Free System
The Halo 5 is designed to be maintenance-free. There are no filters to replace, no salt to buy, and no chemicals to add. The automatic weekly backwash cycle is the secret to its hands-off operation. The only related task is to flush your water heater 3-4 months after installation. The HALO ION conditioner will dissolve existing scale, and flushing removes these solids from your heater tank. If you see an E1 or E2 error code, try resetting the motor gear by holding the “set” and “down arrow” buttons together, then force two regeneration cycles. If the error persists, give us a call.
What to Expect After Your Halo 5 Installation
You’ll notice changes quickly. The chlorine taste and odor will disappear, making tap water, coffee, and ice taste better. Within weeks, you’ll see dramatically less scale buildup on fixtures, and any that appears will wipe away easily. Many also report softer skin and hair. You may occasionally see a fine white powdery residue (Aragonite) on dishes or fixtures. This is harmless, non-scaling crystallized calcium and proof the system is working. It can be minimized with powdered dishwasher soap and a rinse agent, and easily cleaned with vinegar or CLR®.
To explore how the Halo 5 works with other home systems, check out our page about Water Heaters and Filtration Systems.
Frequently Asked Questions about the Halo 5 System
Homeowners across the Denver metro area often have questions about the Halo 5. Here are the most common ones we answer at Gray Phoenix Plumbing.
How much does a Halo 5 system and installation typically cost?
The total investment for a Halo 5 Water Filtration Installation, including the unit and professional labor, typically falls between $2,000 and $5,000. The final cost depends on factors like the size of your home (which determines the required system model) and the complexity of your existing plumbing. This is an investment in cleaner water, appliance protection, and long-term savings on bottled water and cleaning products.
What is the warranty on the Halo 5 system?
The Halo 5 includes a comprehensive warranty: a limited lifetime warranty on the tank, a 10-year warranty on the control head, and a 10-year warranty on the filtration media. To keep this excellent warranty valid, the system must be installed by a licensed contractor. The warranty can be voided by using an unauthorized seller, failing to activate it online, or operating the system outside of its specifications (e.g., water pressure over 80 psi). When we handle your installation, we ensure all conditions are met to protect your investment.
Will my water test “soft” after installing a Halo 5?
No, your water will not test “soft” with a traditional hardness test kit, and that’s by design. Salt-based softeners remove calcium and magnesium minerals. The Halo 5 works differently; it’s a conditioner, not a softener. The HALO ION 2.0 conditioner uses magnetic fields to alter the structure of these minerals into a non-scaling crystalline form called Aragonite. The healthy minerals remain in your water, but they lose their ability to stick to surfaces and form scale. You get the benefits of scale prevention—longer appliance life, less spotting, better soap lather—without removing beneficial minerals or adding sodium to your water.
If you’re curious about how the Halo 5 system specifically addresses Denver’s unique water challenges, check out our detailed guide: Discover The Denver Water Solution: Why the Halo 5 is the Ultimate Whole House Filtration System for Your Home.
Conclusion: Enjoy Pure, Conditioned Water Throughout Your Home
Completing your Halo 5 Water Filtration Installation means changing your home with cleaner, healthier water from every tap. You’ll immediately notice better-tasting water, and over time, you’ll see the benefits of protecting your appliances and plumbing from damaging scale buildup. Your water heater, dishwasher, and fixtures will last longer, saving you money on repairs and replacements.
The beauty of the Halo 5 is its “set it and forget it” design. The five-stage process and automatic backwashing deliver comprehensive water treatment without requiring salt, chemicals, or filter changes. For busy families in Elizabeth, Elbert County, and the greater Denver area, this maintenance-free operation is a significant advantage.
While this guide provides the steps for installation, professional service is invaluable. At Gray Phoenix Plumbing, our licensed, background-checked technicians ensure your Halo 5 Water Filtration Installation is done right, protecting your warranty and guaranteeing leak-free, code-compliant performance. As a family-owned business serving communities from Castle Rock to Colorado Springs, we stand by our work with transparent pricing and our Customer Care Guarantee.
Ready to make the leap to superior whole-home water conditioning? We’re here to help. Learn more about why the Halo 5 is the ideal solution for Denver-area homeowners by visiting Discover The Denver Water Solution: Why the Halo 5 is the Ultimate Whole House Filtration System for Your Home. Your family deserves the best water possible, and we can make it happen.


