

Why Checking for Toilet Leaks Could Save You Hundreds of Gallons Daily
Checking for toilet leaks is one of the most important maintenance tasks you can do to protect your home and your wallet. Here’s how to detect a toilet leak quickly:
Quick Leak Detection Method:
- Add food coloring to your toilet tank (do not flush)
- Wait 15-20 minutes without using the toilet
- Check the bowl for any trace of color
- If color appears, you have a leak that needs fixing
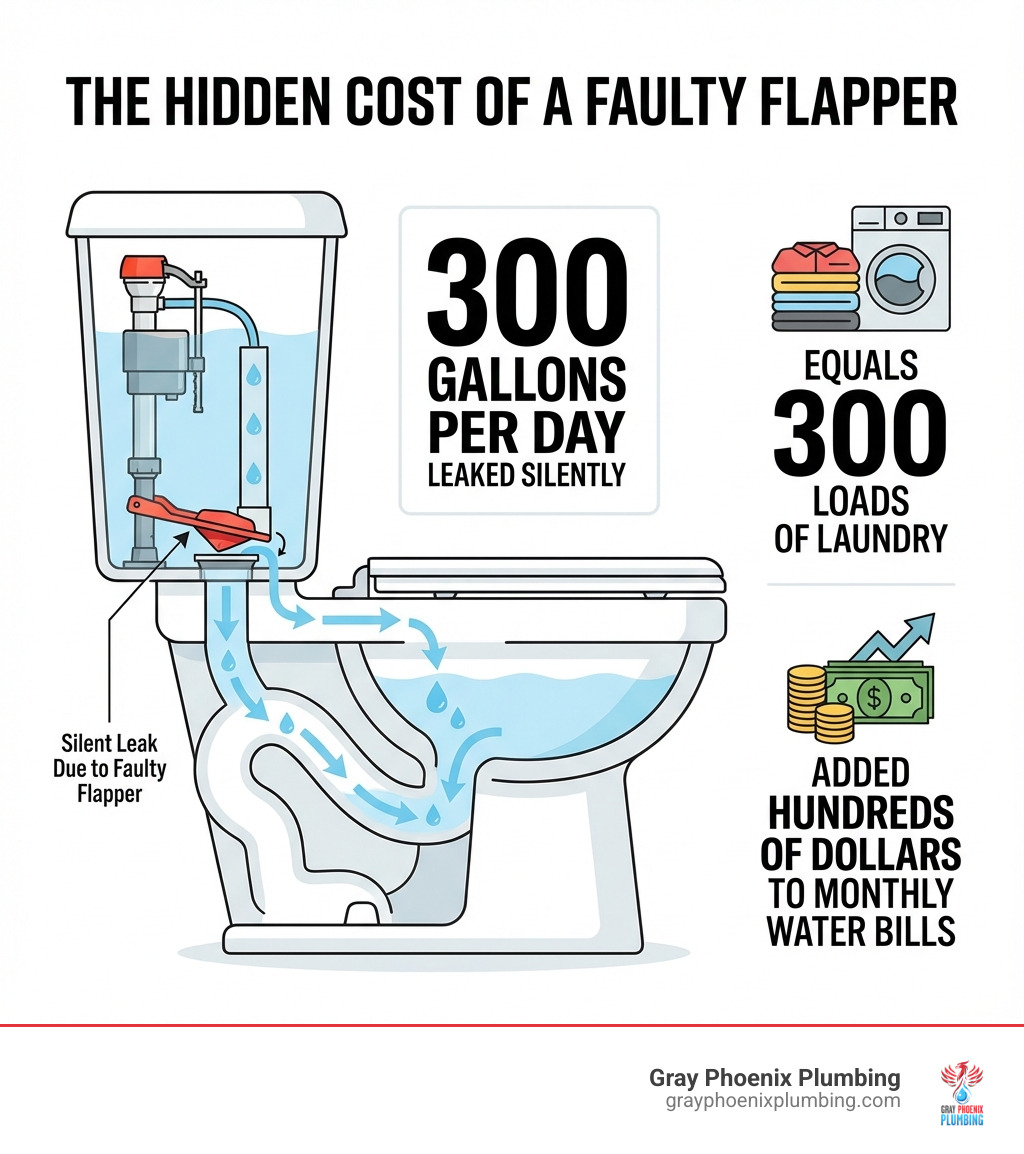
Most toilet leaks are silent—you won’t hear them, but they’re constantly wasting water. According to the EPA, household leaks waste nearly 1 trillion gallons of water every year across the U.S. Just one leaking toilet can lose as much as 300 gallons of water each day without anyone noticing. That’s enough water for 300 loads of laundry, and it can add hundreds or even thousands of dollars to your water bill.
The good news? Many toilet leaks are easy to find and fix yourself using simple household items like food coloring. The challenge is that these leaks often go undetected because they’re completely silent—no dripping sounds, no water on the floor, just money literally going down the drain.
I’m Chris Hoffman, and in my 25+ years as a Master Plumber, I’ve seen countless homeowners shocked to find that a simple toilet leak was behind their skyrocketing water bills. Checking for toilet leaks regularly is one of the easiest ways to prevent water waste and save money. Let me walk you through exactly how to find and fix these hidden leaks.
Spotting the Drip: Common Signs of a Leaky Toilet
While often stealthy, some signs can help you spot a leaky toilet early. An unfixed leak can waste hundreds of gallons of water daily, so it’s important to look for these clues:
Audible Signs (The “Running” Toilet):
- Constant Running or Refilling: Hearing water constantly running in the tank long after a flush indicates it’s refilling water that’s escaping.
- Hissing Sounds: A subtle hiss, especially in a quiet bathroom, can signal water escaping from a faulty fill valve or seal.
- Trickling Water: Hearing water trickle into the bowl long after a flush is a clear sign of a leak.
- Phantom Flushing (or Ghost Flushing): The toilet seems to flush itself. This happens when a slow tank leak causes the water level to drop, triggering the fill valve.
Visible Signs:
- Water on the Floor: Water pooling at the toilet’s base can indicate a leaking wax ring, a crack in the porcelain, or loose connections.
- Mold Growth or Mildew: Persistent moisture from a hidden leak can cause mold or mildew to grow on the floor or wall.
- Constant Running: If you have to jiggle the handle to stop the toilet from running, it’s a sign that something isn’t sealing properly.
The “Invisible” Sign (Your Wallet’s Cry for Help):
- High Water Bill: A sudden spike in your water bill is often the first clue to a silent leak. A running toilet can add hundreds of dollars to your annual bill and is a likely culprit for unexplained increases. The average household leaks nearly 10,000 gallons of water per year, much of it from toilets.
Your Step-by-Step Guide to Checking for Toilet Leaks
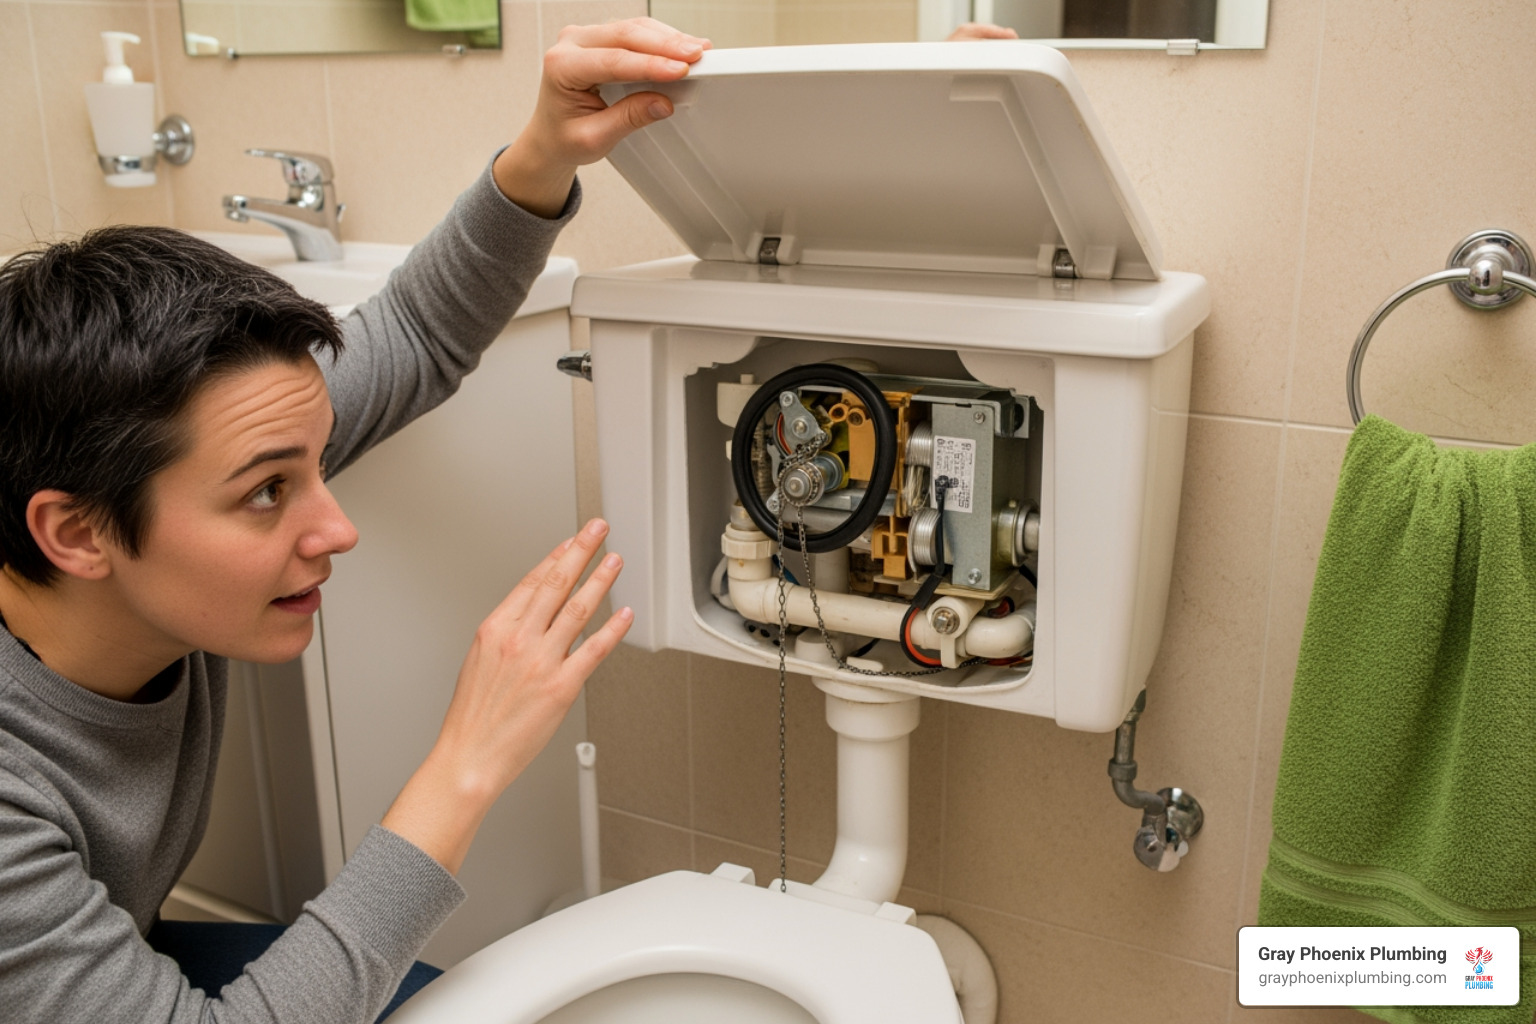
The good news is that checking for toilet leaks doesn’t require a plumbing degree or special tools. Most tests can be done with simple household items, empowering you to pinpoint the source of the problem. Let’s explore the DIY tests to find out exactly where that precious water is going.
The Food Coloring Test: A Simple Method for Checking for Toilet Leaks
The food coloring test is our go-to for detecting silent leaks between the tank and the bowl. It’s safe, effective, and won’t stain your toilet.
How to Perform the Test:
- Remove the toilet tank lid.
- Add a few drops of food coloring or a dye tablet to the water in the tank. We recommend using darker colors like blue or red for easier visibility. About 5-15 drops should be sufficient.
- Wait patiently. Do not flush the toilet for at least 15-30 minutes. If you have multiple bathrooms, you might want to perform this test on all toilets simultaneously.
- Check the toilet bowl. After the waiting period, look into the toilet bowl.
What Colored Water Means:
If you see any trace of colored water in the toilet bowl, even a faint tint, congratulations! You’ve successfully identified a leak. This usually means that water is escaping from the tank into the bowl, most commonly through a faulty flapper valve or a worn flush valve seal.
For a visual guide on this essential test, you can check out How to Test a Toilet for Leaks.
Beyond the Dye: Advanced Checks for Tank vs. Bowl Leaks
Once the food coloring test confirms a leak, we can get more specific about its origin. This helps us narrow down whether the issue is with the fill valve (which controls water coming into the tank) or the flush valve (which controls water going out of the tank and into the bowl).
The Pencil Line Test:
This test helps differentiate between a refill valve leak and a flush valve leak.
- After a positive food coloring test, flush the toilet to clear the colored water.
- Wait for the tank to refill completely.
- Draw a pencil line at the waterline inside the tank. This marks the normal water level.
- Turn off the water supply to the toilet. You’ll usually find a small shut-off valve on the wall or floor behind or beneath the toilet tank.
- Wait 20-30 minutes.
- Check the water level against your pencil line.
- If the water level stays at the line, the refill valve (or fill valve) is likely leaking, meaning water is overflowing into the overflow tube. You can also sprinkle talcum powder on top of the water in the tank to clearly see if it’s running over the top of the overflow pipe.
- If the water level drops below the line, the flush valve (including the flapper or tank ball) is leaking, allowing water to seep into the bowl.
Overnight Shut-Off Test (for persistent leaks):
If you’ve performed the above tests and are still unsure, or if you’ve made repairs and want to double-check, try this:
- Turn off the water supply to the toilet overnight.
- In the morning, check the tank’s water level.
- If about an inch of water remains, the stopper or seat is likely bad.
- If the tank is almost empty, the gasket under the flush valve is damaged.
These detailed checks give us a clearer picture of the leak’s location, guiding us toward the correct repair.
The Usual Suspects: Common Causes and Culprits
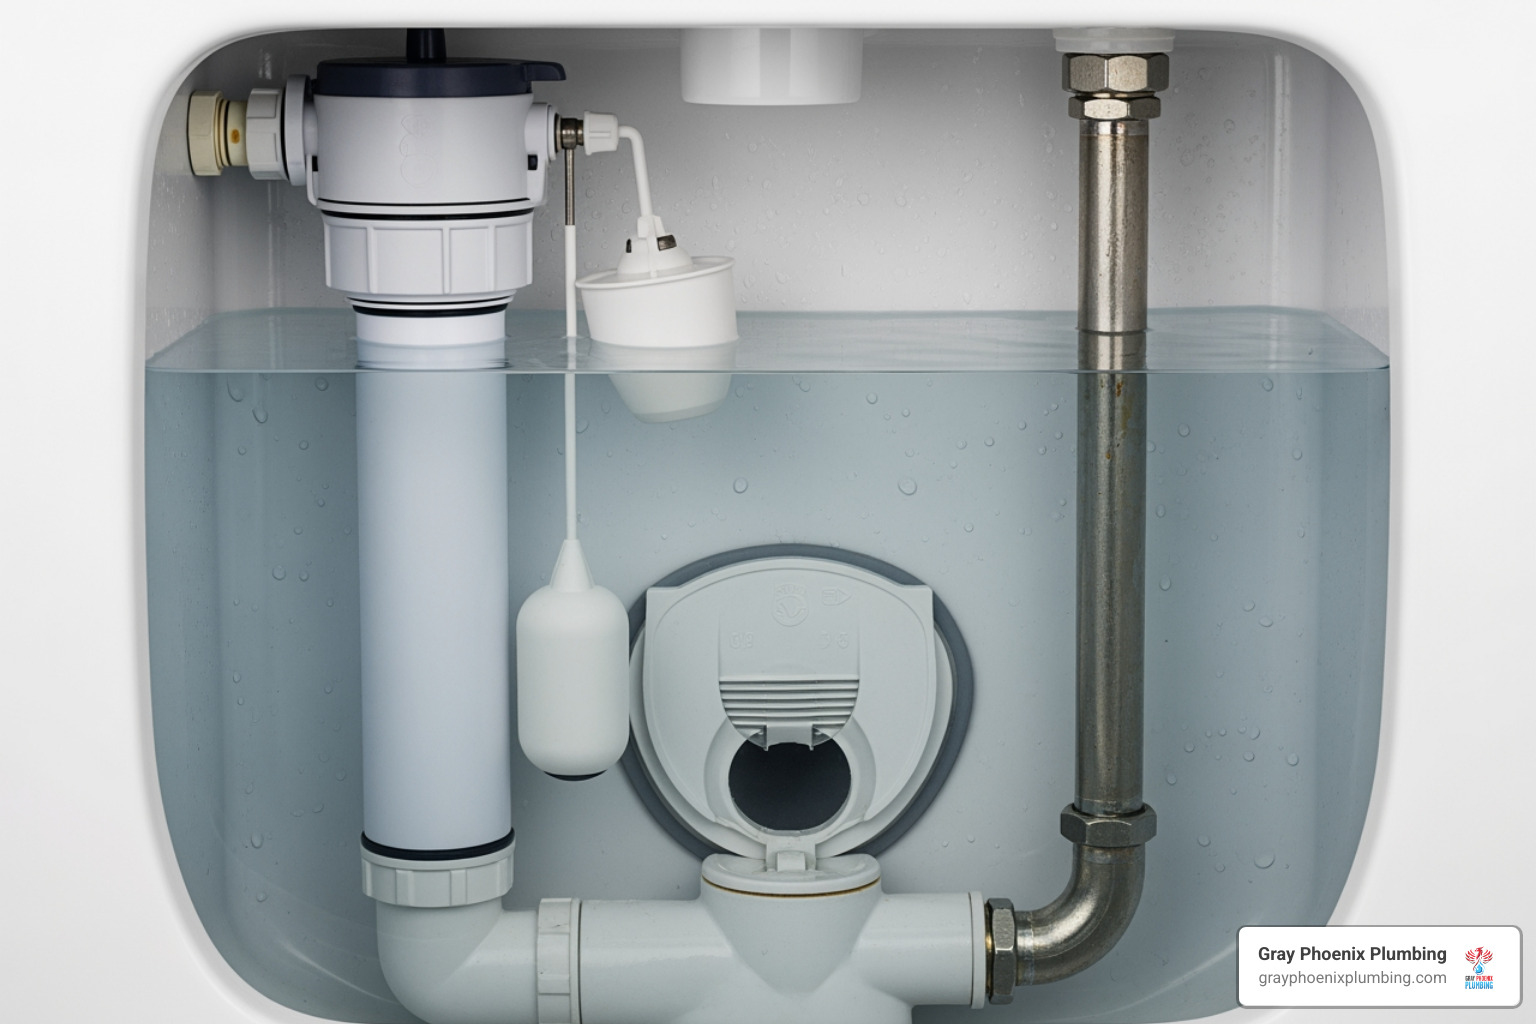
Understanding why leaks happen makes fixing them easier. Most toilet leaks originate in the tank, and these are the most common culprits:
- Worn-Out Flapper (or Tank Ball): This is the most frequent cause. The flapper is the rubber seal at the bottom of the tank. Over time, it can deteriorate or build up mineral deposits, preventing a tight seal. This allows water to leak into the bowl, causing the fill valve to run constantly.
- Faulty Fill Valve (or Ballcock): This valve controls water refilling the tank. If faulty, it may not shut off completely, causing water to run into the overflow tube. Mineral deposits are a common cause of failure.
- Incorrect Water Level: The water level should be about an inch below the overflow tube’s top. If it’s too high, water will constantly spill into the tube, indicating a fill valve issue.
- Overflow Tube Issues: Water constantly running into this safety tube indicates a fill valve problem. A cracked tube is a rare but possible cause.
- Flapper Chain Issues: The chain must be the correct length. If too long, it can get caught under the flapper. If too short, it won’t let the flapper seal properly.
- Tank Bolts and Gaskets: These attach the tank to the bowl. Over time, the rubber gaskets can deteriorate, causing leaks where the tank and bowl meet.
- In-Tank Cleaning Products: Drop-in cleaning tablets contain chemicals that can accelerate the deterioration of rubber parts like flappers and seals, causing premature leaks. We recommend avoiding them.
- Mineral Deposits: Hard water, common in Colorado, can cause mineral buildup on parts like the flapper and fill valve, preventing them from sealing or moving correctly.
Different toilet mechanisms exist:
- Float-Ball Style: Older systems with a large float ball on an arm.
- Vertical-Float Style (or Float Cup): Modern systems with a compact float cup on the fill valve shaft.
Knowing your toilet’s components is key to a successful repair.
From Detective to DIY Hero: Fixing Common Toilet Leaks
Once you’ve identified the leak’s source, you can often fix it yourself with basic tools from a hardware store.
Tools and Materials You’ll Likely Need:
- Food coloring (for testing)
- Screwdriver (Phillips and flathead)
- Adjustable wrench
- Sponge and bucket
- Replacement flapper or fill valve kit
- Pliers and scissors
Safety First: Before You Begin Any Repair:
- Turn off the water supply to the toilet. The shut-off valve is usually on the wall behind the toilet; turn it clockwise.
- Flush the toilet to drain the tank. This makes it cleaner to work.
For more comprehensive information on various toilet repairs, visit our toilet repair services page.
How to Fix a Leaky Toilet Flapper
A worn-out flapper is the most common cause of a running toilet. Replacements are inexpensive and easy to install.
Steps to Replace a Flapper:
- Turn off the water and drain the tank.
- Inspect the old flapper for stiffness, cracks, or mineral buildup. If it looks worn, replace it.
- Disconnect the old flapper: Unhook its chain from the flush lever and unclip it from the overflow tube.
- Choose a new flapper: Bring the old one to the hardware store to find a compatible replacement.
- Install the new flapper: Clip the new flapper onto the overflow tube.
- Reconnect the chain to the flush lever arm with about 1/2-inch of slack. Trim any excess so it won’t get caught.
- Turn the water back on and let the tank refill.
- Test the flush and perform the food coloring test again to confirm the leak is gone.
For a helpful visual demonstration, you can See the EPA’s video on how to replace the flapper.
How to Adjust or Replace a Toilet Fill Valve
If your tests point to a fill valve leak, you may need to adjust or replace it.
Adjusting Float Height (for high water level):
The water level should be about an inch below the overflow tube’s top. If it’s higher, the float is likely set too high.
- For Float-Ball Style Fill Valves: Adjust the screw where the float arm attaches to the fill valve, or gently bend the arm.
- For Vertical-Float Style (Float Cup) Fill Valves: Use the adjustment screw or clip on the fill valve shaft to move the float cup.
Adjust in small increments, flushing after each change until the level is correct.
Replacing the Fill Valve Unit (if adjustment doesn’t work or valve is faulty):
If adjustment doesn’t work or the valve is damaged, it needs replacement.
- Turn off the water supply and drain the tank.
- Disconnect the water supply line from the bottom of the fill valve.
- Unscrew the lock nut holding the fill valve in place underneath the tank and remove the old valve.
- Install the new fill valve, ensuring the rubber washer is on the inside of the tank.
- Hand-tighten the lock nut underneath, then give it a final half-turn with a wrench.
- Connect the refill tube from the fill valve to the overflow tube.
- Reconnect the water supply line.
- Turn the water on slowly, check for leaks, and adjust the float height.
With these steps, you can often tackle common toilet leaks yourself, saving water and money!
The Hidden Costs and When to Call a Professional
While we love empowering our neighbors in the Denver and Colorado Springs areas with DIY fixes, ignoring toilet leaks can cause significant problems beyond a high water bill.
The Staggering Cost of Neglect:
- Water Waste: It bears repeating: a single leaking toilet can waste up to 300 gallons of water daily. An unfixed leak loses hundreds of gallons each day.
- Increased Utility Bills: Wasted water means a higher bill. A leaky toilet can add hundreds of dollars to your annual water costs, increasing bills by 10% or more.
- Water Damage: Constant leaks can cause significant home damage. Water seeping from the toilet’s base can rot subfloors, ruin flooring, and compromise your bathroom’s structural integrity.
- Mold and Mildew Issues: Persistent moisture from leaks is an ideal breeding ground for mold and mildew, which can cause odors and potential health issues.
- Wastewater Charges: Many areas charge for water use and wastewater. A leak means you’re paying twice for water you don’t even use.
When DIY Isn’t Enough – Time to Call in the Pros:
While many leaks are simple DIY fixes, it’s time to call a licensed plumbing professional if:
- You’ve tried the DIY fixes and the leak persists.
- You suspect a cracked porcelain tank or bowl. These require a full toilet replacement.
- Water is pooling at the toilet’s base. If tightening bolts doesn’t help, it could be a faulty wax ring, which requires removing the toilet to replace.
- The leak is from the water supply line or shut-off valve.
- You’re uncomfortable with the repair. It’s better to call a pro than risk more damage.
- You’re dealing with an older, complex toilet mechanism.
When in doubt, call a licensed plumber. For immediate help in the Denver and Colorado Springs metro areas, we offer 24/7 emergency plumbing services.
Frequently Asked Questions about Checking for Toilet Leaks
Here are answers to common questions about toilet leaks:
What tools do I need to check for and fix common toilet leaks?
For checking for toilet leaks, you’ll mostly need:
- Food coloring or dye tablets
- A keen eye and good listening skills!
For fixing common toilet leaks, you’ll typically need:
- An adjustable wrench
- Screwdrivers
- A sponge and bucket
- Pliers and scissors
- Replacement parts (e.g., a new flapper or fill valve kit).
How often should I be checking for toilet leaks?
We recommend making checking for toilet leaks a routine part of your home maintenance.
- Every 6 months: Perform a quick food coloring test on all toilets twice a year. A good time is when you change smoke detector batteries.
- After high water bills: If your bill suddenly jumps, check all toilets immediately.
- When you hear unusual sounds: Phantom flushing, hissing, or constant running warrants an immediate check.
Can a leaky toilet be fixed, or do I need a new one?
Most leaks are affordable fixes, like replacing a flapper or fill valve. However, sometimes a new toilet is a more practical solution:
- Age of the toilet: Toilets over 20 years old are inefficient (using up to 22 liters per flush vs. 6 liters for modern ones). Replacing it saves water with every flush.
- Recurring issues: Constantly fixing leaks may mean the entire mechanism is failing.
- Cracked porcelain: A cracked tank or bowl cannot be reliably repaired and requires replacement.
- Cost-effectiveness: If repair costs for an old toilet are high, a new, water-efficient model may be a better investment. WaterSense-labeled toilets are 20% more efficient and save money long-term.
If you’re considering a new toilet installation, our guide to toilet installation can provide valuable insights.
Stop the Drip and Save: Your Next Steps
Checking for toilet leaks is a simple yet powerful step in maintaining your home, conserving water, and protecting your budget. We’ve seen how easily silent leaks can waste hundreds of gallons of water daily, leading to skyrocketing utility bills and potential water damage. But we’ve also learned that with a little knowledge and a few basic tools, you can become a DIY hero and tackle many of these common plumbing issues yourself.
From the simple food coloring test to understanding the inner workings of your toilet tank, you’re now equipped to detect and address those sneaky drips. Regular checks are your best defense against unexpected costs and water waste.
However, we understand that not every leak is a simple fix, and sometimes, the problem calls for professional expertise. Whether you’re in Elizabeth, Parker, Castle Rock, or anywhere across the Denver and Colorado Springs areas, our team at Gray Phoenix Plumbing is here to help. As a family-owned business, we pride ourselves on providing reliable residential plumbing services with licensed, background-checked pros, transparent pricing, and our Customer Care Guarantee. We’re your one-stop shop for home service needs, ensuring your plumbing runs smoothly.
Don’t let a leaky toilet drain your resources. If you’ve performed your checks and the leak persists, or if you’re facing a more complex issue, don’t hesitate to reach out. We’re ready to provide the professional assistance you need.
Schedule professional water leak detection today and let us help you keep your home dry and your water bill low.


