

Transform Your Bathroom with a Simple DIY Upgrade
Bathroom faucet installation is a straightforward DIY project that most homeowners can complete in under an hour with basic tools. Here’s what you need to know:
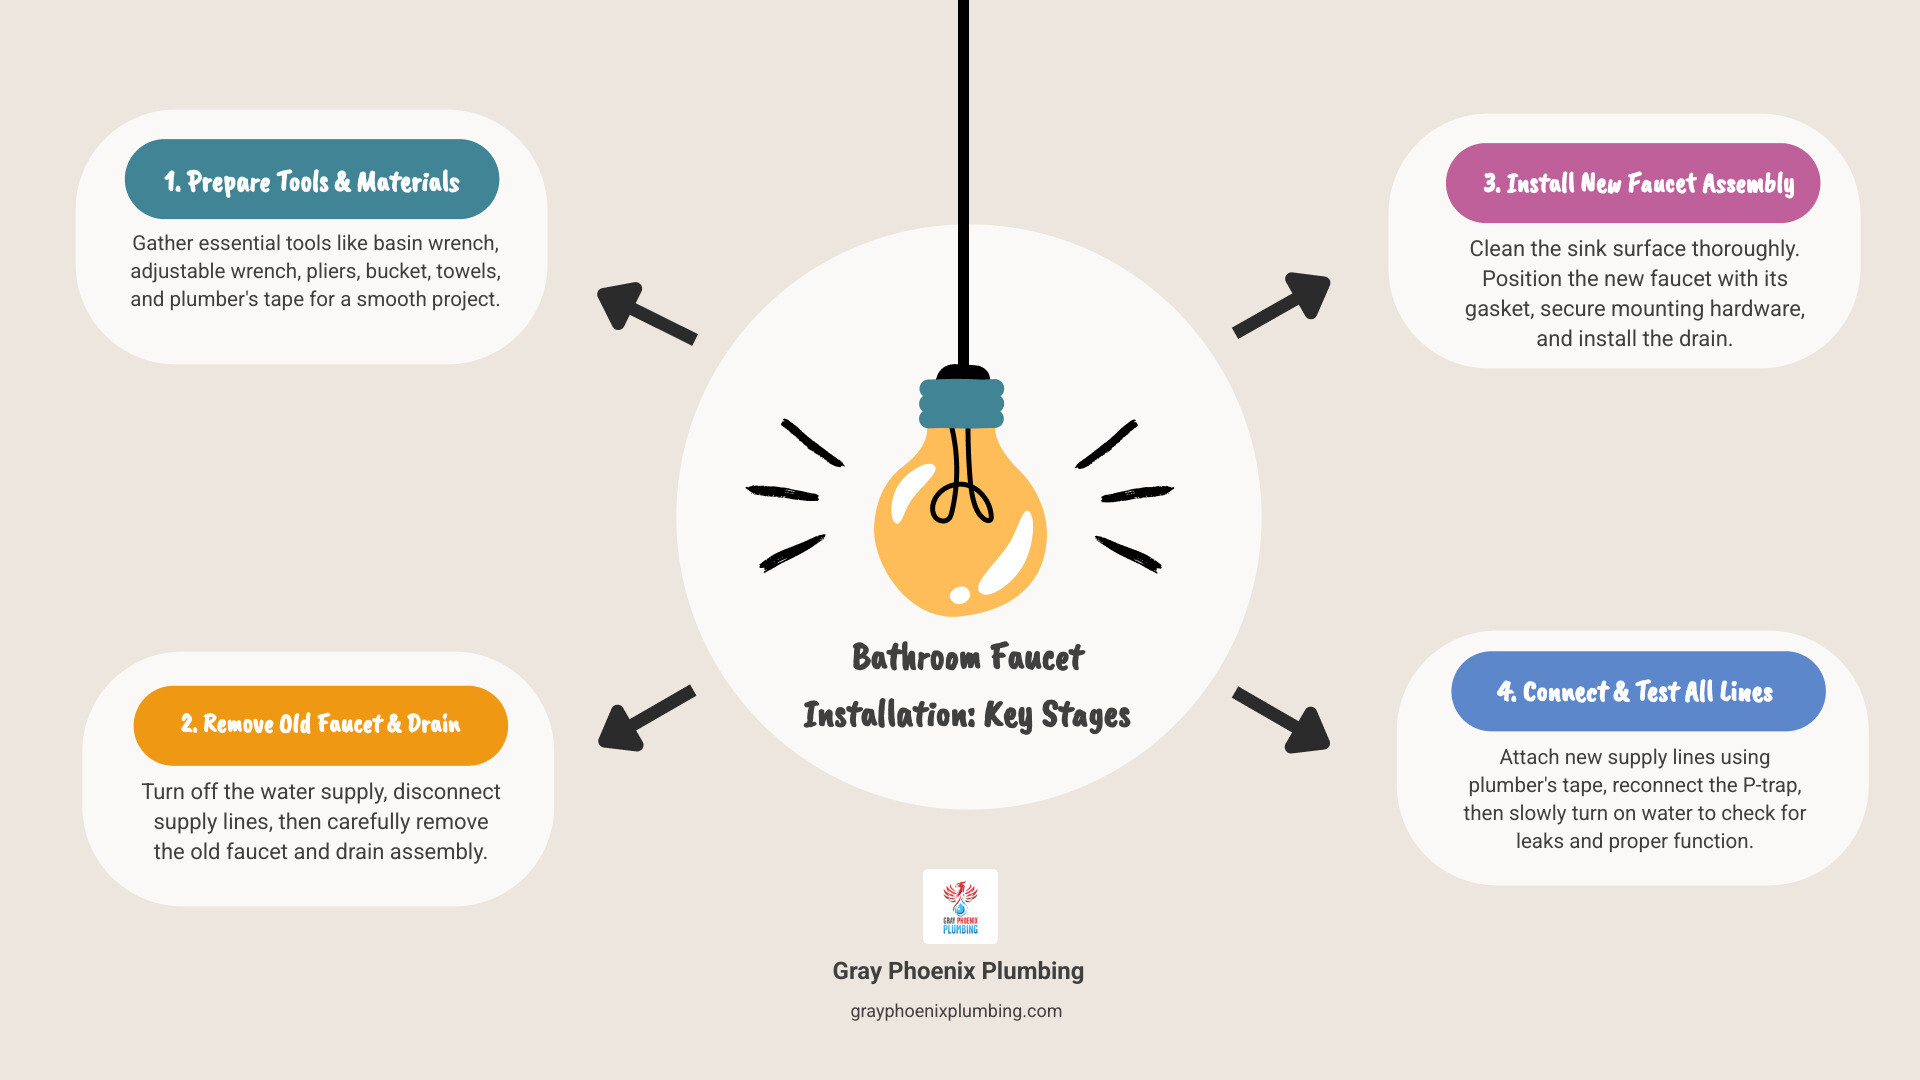
Basic Installation Steps:
- Turn off water supply – Shut off valves under the sink
- Remove old faucet – Disconnect supply lines and mounting nuts
- Clean the sink surface – Remove old putty and mineral deposits
- Install new faucet – Position with gasket, secure mounting hardware
- Connect supply lines – Attach to faucet and shut-off valves
- Test for leaks – Turn water on slowly and check all connections
Replacing a bathroom faucet is one of the most rewarding home improvement projects you can tackle yourself. It updates the look of your bathroom, improves functionality, and can even reduce water bills if you choose a low-flow model. According to industry research, this project typically takes no more than an hour and costs between $20-50 in materials beyond the faucet itself.
The key to success is understanding your sink’s hole configuration (single-hole, centerset, or widespread) and having the right tools on hand—particularly a basin wrench for those hard-to-reach nuts under the sink. Whether you’re dealing with a leaky faucet or simply want a fresh look, this guide will walk you through each step with clarity and confidence.
I’m Chris Hoffman, a Master Plumber with over 25 years of experience helping homeowners in the Denver Metro area with projects like bathroom faucet installation. I’ve guided countless DIYers through this process and know exactly where people get stuck—and how to avoid those pitfalls.
Preparation: Tools, Materials, and Faucet Types
Before we dive into the nitty-gritty of bathroom faucet installation, let’s ensure we have everything we need. A little preparation goes a long way in making this project smooth and stress-free. We’ll gather our tools, essential materials, and then make sure our new faucet is the perfect fit for our sink.
Essential Tools:
- Adjustable Wrench: This versatile tool will be your best friend for tightening and loosening various nuts and connections. An adjustable wrench is a must-have for this project.
- Basin Wrench: This specialized tool is a lifesaver for reaching those awkward nuts that secure the faucet from underneath the sink. It’s designed for tight spaces and will save you a lot of frustration.
- Pliers (Channel Locks or Tongue-and-Groove): Useful for gripping and turning various plumbing components.
- Screwdriver Set (Phillips and Flathead): You’ll likely need these for small screws on mounting hardware or lift rods.
- Bucket and Towels: Essential for catching any residual water when disconnecting lines and for general cleanup.
- Safety Glasses: Always protect your eyes! Debris can fall when working under the sink.
- Flashlight or Headlamp: The underside of your sink can be a dark place. A good light source is invaluable.
- Putty Knife or Razor Scraper: For removing old caulk or mineral deposits.
- Penetrating Oil: Handy for loosening stubborn, rusted nuts.
Essential Materials:
- New Faucet: Of course! Make sure it matches your sink’s hole configuration (more on this next).
- Plumber’s Putty: Used to create a watertight seal around the drain flange.
- Plumber’s Tape (Teflon Tape): This thin white tape wraps around threaded connections to prevent leaks.
- New Supply Lines: While some new faucets come with supply lines attached, it’s often a good idea to replace old ones with new, flexible braided stainless steel lines for reliability. These braided stainless steel lines are a common choice for durability.
- Silicone Sealant (Kitchen & Bath Grade): For sealing the base of the faucet or deck plate to the sink, providing a clean, watertight finish.
- Deck Plate (Optional): If your new faucet has a different hole configuration than your sink, a deck plate can cover unused holes.
Understanding Faucet Configurations
One of the most crucial steps before purchasing a new faucet is understanding your sink’s hole pattern. Faucets come in various configurations, and choosing the right one ensures a seamless bathroom faucet installation.
- Single-Hole Faucets: These are designed for sinks with just one hole. The spout and handle(s) are integrated into a single unit. If you have a three-hole sink but want a single-hole faucet, you can often use a deck plate to cover the unused holes, creating a clean look.
- Centerset Faucets: These are common for sinks with three holes spaced four inches apart (measured from the center of the left hole to the center of the right hole). The spout and handles are combined into one base unit. This is often referred to as a “4-inch spread.”
- Widespread Faucets: Designed for sinks with three holes that are typically six to sixteen inches apart (often referred to as an “8-inch spread” or more). With a widespread faucet, the spout and each handle are separate pieces, offering more flexibility in placement and a more neat, spread-out appearance.
To determine your sink’s configuration, simply count the holes and measure the distance between the center of the outer holes. If your current faucet has a large base plate, it might be covering additional holes, so peek underneath or remove the old faucet first to be sure.
Here’s a quick comparison:
| Faucet Type | Hole Requirements | Appearance | Deck Plate Usage | |
| Single-Hole | 1 hole (or 3 with a deck plate) | One compact unit with spout and handles combined | Yes, if converting from a three-hole sink |
| Centerset | 3 holes (4-inch spread) | Spout and two handles on a single joined base plate | Often comes with the faucet, used to cover the three holes. |
Your Step-by-Step Guide to Bathroom Faucet Installation
Now, let’s roll up our sleeves and get to work! Patience is key, and don’t be afraid to take a break if you feel overwhelmed. We’re here to make this bathroom faucet installation a success.
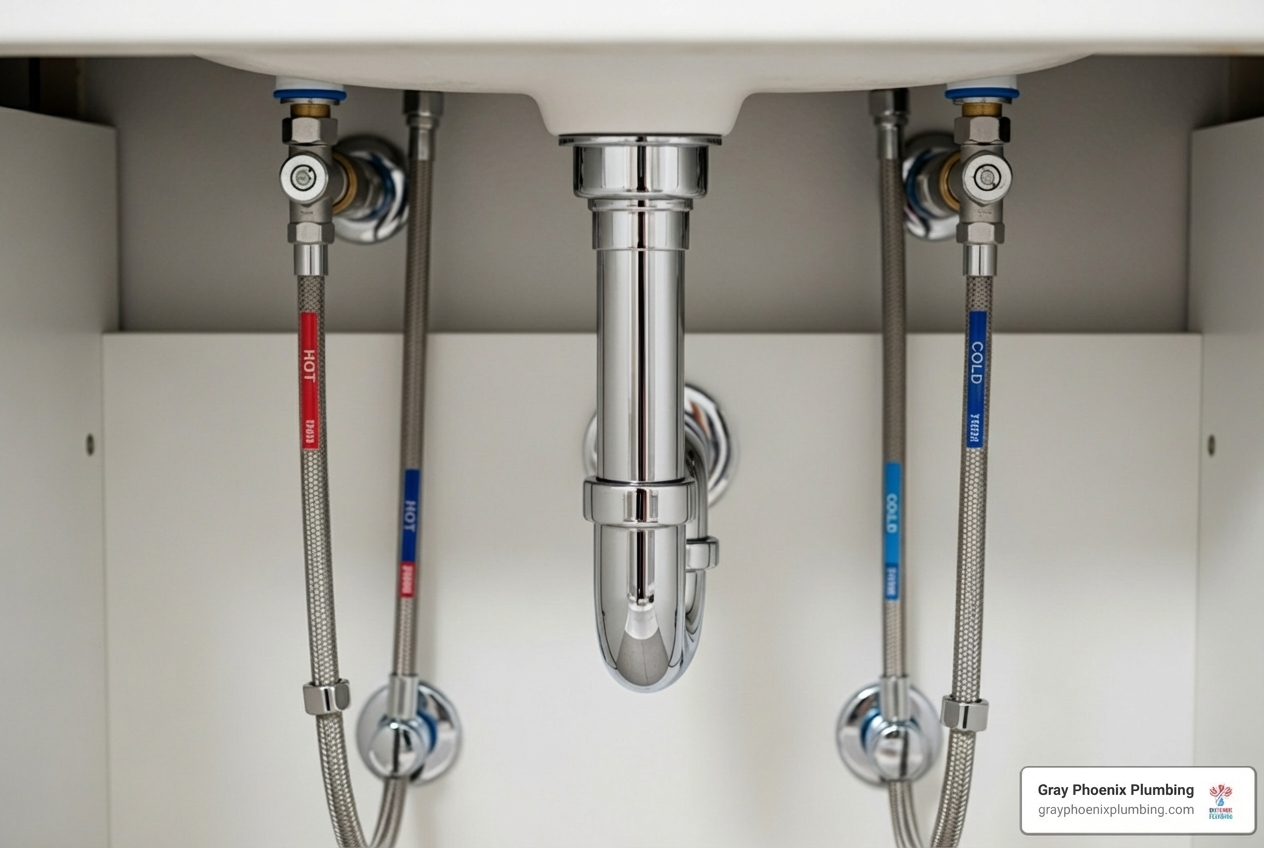
Before we start, safety first! Always ensure the water supply is completely turned off. You’ll typically find two shut-off valves under your sink—one for hot water and one for cold. Turn them clockwise until they’re fully closed. If you don’t have shut-off valves under your sink, you’ll need to turn off the main water supply to your house. Once the water is off, open the old faucet to relieve any pressure in the lines and drain residual water. Have your bucket and towels ready to catch any drips!
Step 1: Removing the Old Faucet and Drain
This is often the most challenging part of the entire process, especially if your old faucet has been in place for years and those nuts are stubbornly rusted.
- Disconnect the Supply Lines: Using your adjustable wrench, carefully disconnect the hot and cold supply lines from the shut-off valves and the faucet shanks. Be prepared for a small amount of water to escape, even after depressurizing the lines. That bucket will come in handy!
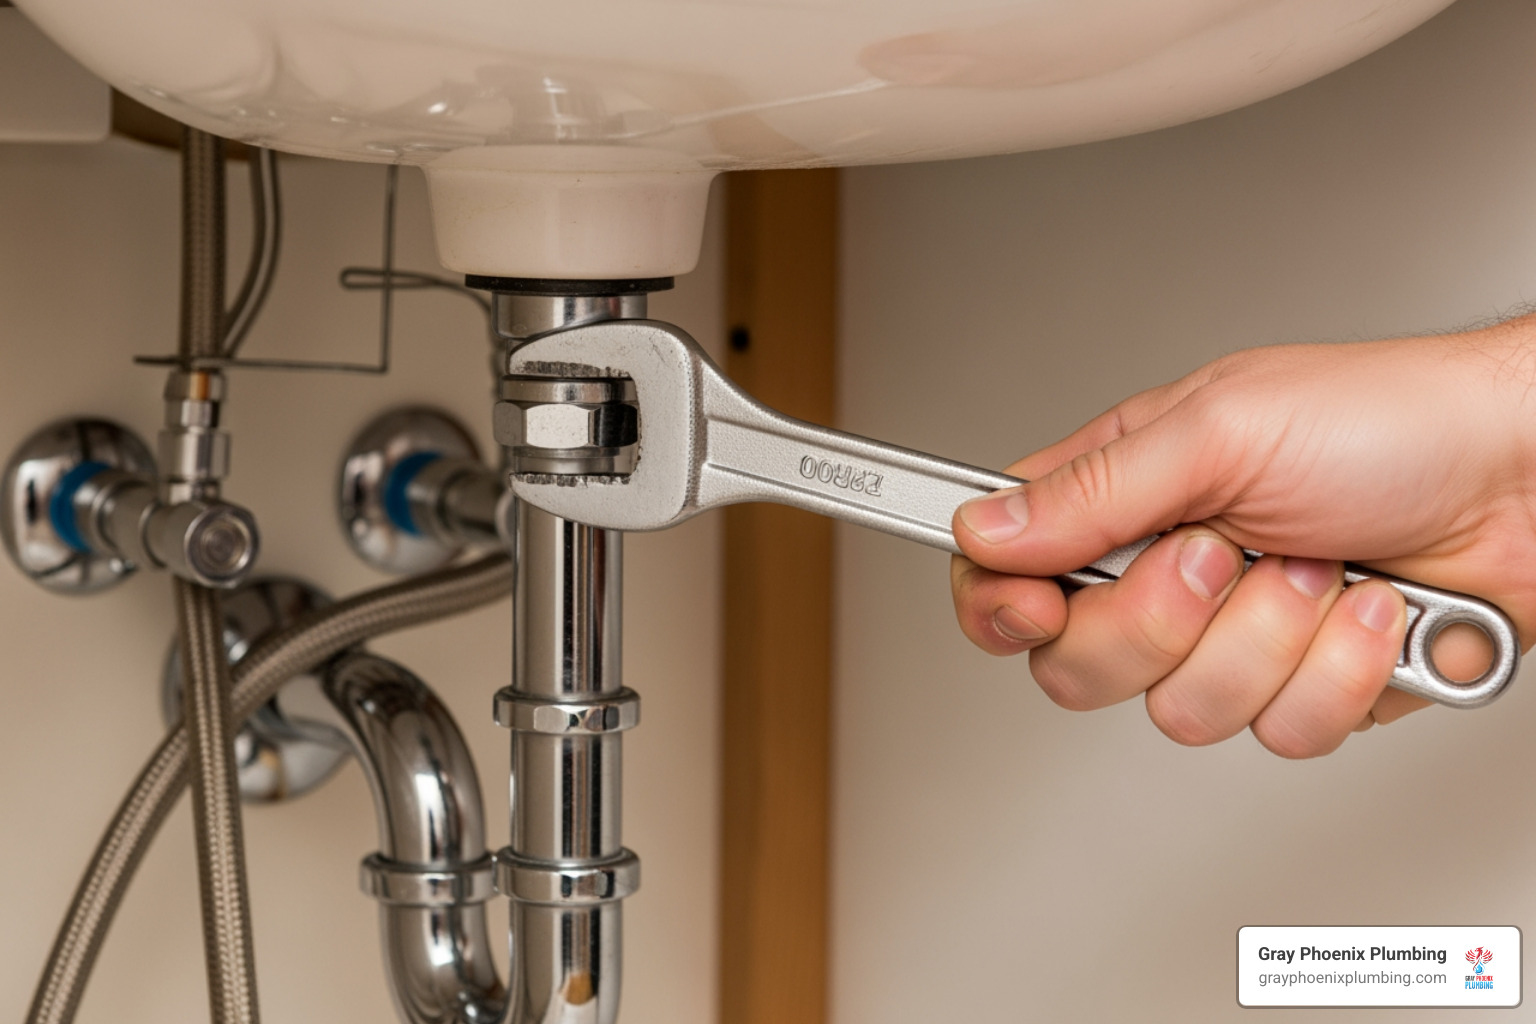
- Remove Mounting Nuts: Now for the plumbing acrobatics! Crawl under the sink and locate the nuts that secure the faucet to the sink. This is where your basin wrench shines. It’s designed to reach into those tight, awkward spaces. If the nuts are rusted and won’t budge, apply a little penetrating oil and let it sit for a few minutes.
- Disconnect the Lift Rod: If your old faucet has a pop-up drain, there will be a small rod extending from the back of the faucet down to the drain assembly. You’ll need to disconnect this rod, usually by loosening a small clip or screw.
- Remove the Old Faucet: Once the supply lines, mounting nuts, and lift rod are disconnected, you should be able to lift the old faucet straight up from the top of the sink. If it’s stuck, a gentle pry with a putty knife might be needed to break any old sealant.
- Remove the P-Trap: Next, we’ll tackle the drain. Place your bucket directly under the P-trap (the U-shaped pipe under the sink). Unscrew the slip nuts on either side of the P-trap to remove it. This will prevent water from spilling everywhere when you remove the drain.
- Remove the Old Drain Flange: From the top of the sink, you’ll see the drain flange (the metal ring around the drain opening). From underneath, you’ll need to unscrew the large nut that holds the tailpiece (the pipe extending down from the drain) to the sink. Once this is loose, the old drain assembly should come apart.
Step 2: Preparing the Sink for Your New Bathroom Faucet Installation
With the old faucet and drain out of the way, it’s time to get the sink ready for its sparkling new fixture. A clean surface ensures a good seal and a professional finish.
- Clean the Sink Surface: Use your putty knife or razor scraper to remove any old plumber’s putty, silicone, or caulk around the faucet holes and the drain opening.
- Remove Mineral Deposits: Over time, hard water can leave behind stubborn mineral deposits. We recommend using a quality cleaner specifically designed for tough mineral deposits to ensure the surface is completely smooth and free of grime. This step is crucial for achieving a watertight seal with your new faucet.
Step 3: Installing the New Faucet and Drain Assembly
Now for the exciting part – bringing your new faucet to life!
- Prepare the New Faucet: If your new faucet requires a deck plate (to cover extra holes), apply a thin bead of plumber’s putty to the underside of the deck plate before placing it on the sink. Many new faucets come with a rubber gasket that goes between the faucet body and the sink; if so, use that instead of putty on the faucet base itself.
- Position the New Faucet: Carefully insert the new faucet (and any attached supply lines) through the holes in the sink. Ensure it’s properly aligned and facing the correct direction.
- Secure the Faucet: From underneath the sink, attach the mounting hardware provided with your new faucet. This usually involves a rubber washer, a metal washer, and then a large nut or a bracket with screws. Hand-tighten these first, then use your basin wrench or screwdriver (depending on the design) to snug them up. Be firm, but don’t overtighten, as this can damage the sink or faucet.
-
Install the New Drain Flange: Roll a thin rope of plumber’s putty and place it around the underside of the new drain flange. If your drain assembly comes with a rubber gasket for the top of the sink, use that instead of putty. Insert the flange into the drain opening from the top of the sink.
-
Connect the Drain Body: From underneath the sink, slide the rubber gasket, friction washer, and mounting nut onto the drain tailpiece. Thread the tailpiece into the drain flange and tighten the nut securely. Do not use plumber’s putty on plastic drain parts; use the rubber gaskets provided.
- Connect the Lift Rod Assembly: If your faucet has a pop-up drain, follow the manufacturer’s instructions to connect the lift rod from the faucet to the drain tailpiece. This usually involves a pivot rod, a strap, and a spring clip. Test the mechanism to ensure the drain stopper opens and closes smoothly.
Step 4: Finalizing Your Bathroom Faucet Installation: Connections and Testing
We’re almost there! This final stage involves connecting the water supply and performing crucial leak tests.
- Connect New Supply Lines: If your new faucet didn’t come with integrated supply lines, now is the time to attach them. Wrap plumber’s tape clockwise around the threaded shanks of the faucet and the shut-off valves (if they don’t have compression fittings). Connect the new supply lines to the corresponding hot and cold faucet shanks, hand-tightening them first, then giving them a final snug turn with your adjustable wrench. Repeat this process for connecting the other ends of the supply lines to your hot and cold shut-off valves. Be careful not to overtighten, as this can strip threads or crack fittings.
- Re-attach the P-Trap: Reconnect the P-trap to the new drain tailpiece and the wall drainpipe. Ensure all slip nuts are hand-tightened, then use your pliers or adjustable wrench for a final snug turn.
- Turn On Water Slowly: With all connections secure, slowly turn the hot and cold water shut-off valves back on. Listen for any hissing sounds, which might indicate a leak.
- Check for Leaks: Carefully inspect all new connections—under the faucet, at the supply lines, and around the P-trap—for any signs of drips or leaks. If you find a leak, turn off the water, tighten the connection slightly, and recheck. Sometimes, simply tightening a quarter turn is all it takes.
- Flush the Lines: Before using your new faucet, remove the aerator from the tip of the spout. Turn on both hot and cold water and let them run for about a minute. This flushes out any debris that may have entered the lines during installation. Turn off the water, reattach the aerator, and you’re good to go!
- Test Hot and Cold: Finally, test the hot and cold water flow to ensure everything is working correctly.
Congratulations, you’ve successfully completed your bathroom faucet installation! For more insights into maintaining your home’s water systems, check out our resources on residential plumbing.
Troubleshooting Common Installation Challenges
Even with the best instructions, plumbing projects can sometimes throw a curveball. Here are a few common challenges you might encounter during bathroom faucet installation and how to overcome them:
- Stuck Nuts or Corroded Parts: This is perhaps the most common hurdle, especially with older faucets. As we mentioned, penetrating oil can work wonders. Apply it generously to rusted nuts and let it soak for 15-30 minutes before trying again with your basin wrench. If a part is too corroded to remove safely, sometimes cutting the old supply lines (if they’re being replaced) can give you more leverage.
- Leaks at Connections: A small drip after turning the water back on is common. Don’t panic! Turn off the water immediately. Often, it just means a connection isn’t quite snug enough. Tighten the offending nut a quarter turn at a time and retest. Ensure you used plumber’s tape on all threaded connections. If it’s a compression fitting, make sure the ferrule is seated correctly.
- Over-Tightening: While you want connections to be secure, overtightening can damage plastic parts, strip threads, or crack pipes. Aim for “snug plus a quarter turn” rather than wrenching down with all your might. If you suspect you’ve overtightened and caused damage, it’s best to stop and assess.
- Mismatched Lines or Fittings: Sometimes, older plumbing might have different sized connections than your new faucet or supply lines. While rare for standard bathroom faucets, it can happen. If you encounter this, you might need an adapter, which your local hardware store can help you find.
- Drain Pipe Alignment Issues: When installing the new drain, the tailpiece and P-trap might not align perfectly with the wall drain. This can usually be adjusted by slightly repositioning the P-trap or using flexible couplings, but if it’s a significant misalignment, it might require more advanced adjustments.
When to Call a Pro:
While bathroom faucet installation is a manageable DIY task, there are times when it’s wise to call in the experts. If you encounter persistent leaks you can’t fix, stripped pipes, unexpected pipe damage, or if you simply feel out of your depth, don’t hesitate. At Gray Phoenix Plumbing, we’re always ready to step in. For complex issues or any plumbing concerns in the Aurora, CO area, consider professional plumbing repair. We’ve seen it all and can quickly resolve any challenges.
Frequently Asked Questions about Faucet Installation
We hear a lot of questions about faucet installation, so let’s tackle a few common ones to give you even more confidence.
How long does it take to replace a bathroom faucet?
For most homeowners, with the right tools and a little preparation, replacing a bathroom faucet is a project that can realistically be completed in under an hour. Our research confirms that many DIYers can tackle this in about 60 minutes. Of course, this can vary if you encounter heavily corroded parts or unexpected plumbing issues, but a straightforward replacement is quite quick.
Can I install a single-hole faucet on a three-hole sink?
Absolutely! This is a very common desire for homeowners looking to update their bathroom’s aesthetic. If you have a three-hole sink but prefer the sleek look of a single-hole faucet, you can achieve this by using a deck plate, also known as an escutcheon plate. This plate sits on the sink, covering the two unused outer holes, and provides a stable base for your single-hole faucet. Many single-hole faucets are sold with a matching deck plate included, or you can purchase one separately.
What’s the hardest part of installing a faucet?
Based on our experience and feedback from countless homeowners, the hardest part of bathroom faucet installation is almost always removing the old faucet, specifically those stubborn mounting nuts and supply lines under the sink. The cramped space, poor visibility, and potential for rust and corrosion can make it a real challenge. This is precisely why we emphasize having a basin wrench and penetrating oil on hand – they are game-changers for this particular step. Once the old faucet is out and the area is clean, installing the new one is generally much smoother.
Your Project is Done – What Now?
You’ve done it! You’ve successfully completed your bathroom faucet installation. Take a moment to admire your handiwork. This simple update brings a host of benefits to your home:
- Aesthetic Benefits: A new faucet can dramatically change the look and feel of your bathroom, making it feel more modern, stylish, and refreshed without the cost of a full renovation. It’s a fantastic way to customize your space to better suit your taste.
- Functional Benefits: Say goodbye to that leaky, stiff, or low-pressure old faucet. Your new faucet will operate smoothly, efficiently, and reliably, making daily tasks much more enjoyable.
- Water Conservation: If you chose a low-flow faucet, you’re not just upgrading your bathroom; you’re also contributing to water conservation. Low-flow faucets are designed to use significantly less water (often about half as much as conventional faucets) without sacrificing performance. This means a reduced environmental footprint and lower water bills for you!
- Increased Home Value: Modern, efficient fixtures can increase the overall appeal and value of your home, making it a smart investment.
While we encourage and applaud your DIY efforts, we also understand that sometimes projects are more complex than anticipated, or you simply prefer the peace of mind that comes with professional service. If you’re in Elizabeth, CO, Parker, Castle Rock, Aurora, or any of our service areas and find yourself needing assistance with bathroom faucet installation, repair, or any other plumbing needs, Gray Phoenix Plumbing is here to help. Our licensed and background-checked pros are dedicated to providing transparent pricing and exceptional service.
For any plumbing needs in the Aurora, CO area, don’t hesitate to contact our expert plumbers. We’re a family-owned business committed to keeping your home’s plumbing running smoothly.
Ready to explore more ways we can help with your home’s plumbing? Visit our Aurora, CO plumbing services page today!


